Archives: News & Insights

  • Telecom Cabinet Condensation: Why Outdoor Base Station Gear Fails and How to Stop It

    Telecom Cabinet Condensation: Why Outdoor Base Station Gear Fails and How to Stop It

    Every tower crew knows the morning ritual. You pull up to a site after a cool, humid night, open the outdoor cabinet that houses the baseband units and the rectifiers, and there it is: water beaded on the inside of the door, a white film on a connector, or the dull gray of corrosion starting on a busbar.

    The cabinet has an IP rating, the door seals are intact, and it never rains on the inside. Nobody can say where the water came from, so everybody wipes it down and the site goes back on the air, until the next cool night, and the next truck roll.

    Telecom cabinet condensation is one of the most common causes of premature failure in outdoor base station gear, and it’s also one of the most preventable. It doesn’t announce itself with an alarm.

    It shows up as a marginal RF connector, a rectifier that dies two years early, or an intermittent fault that only happens on certain mornings. If you’re responsible for keeping cell sites up, this is the failure mode worth understanding.

    Why telecom cabinets collect water on the inside

    The physics is the same as every outdoor enclosure, but telecom cabinets have a few habits that make them especially good at it.
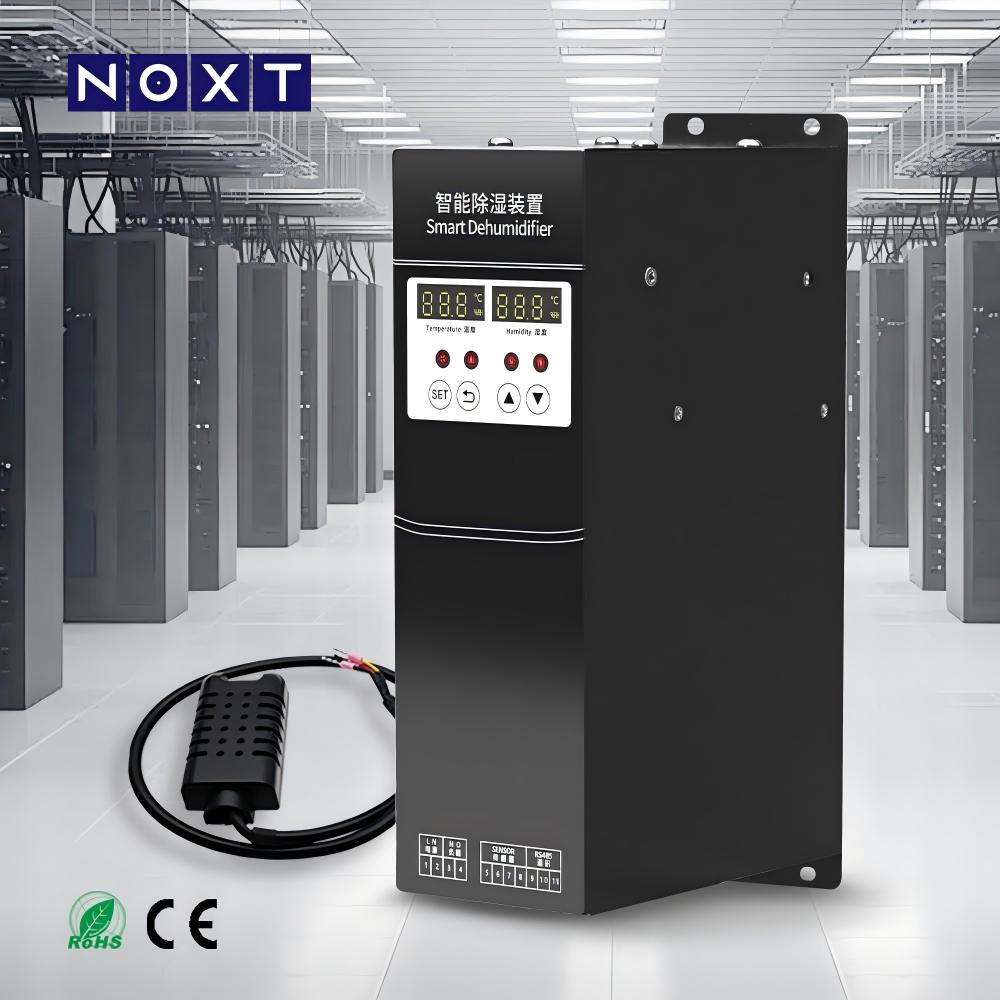
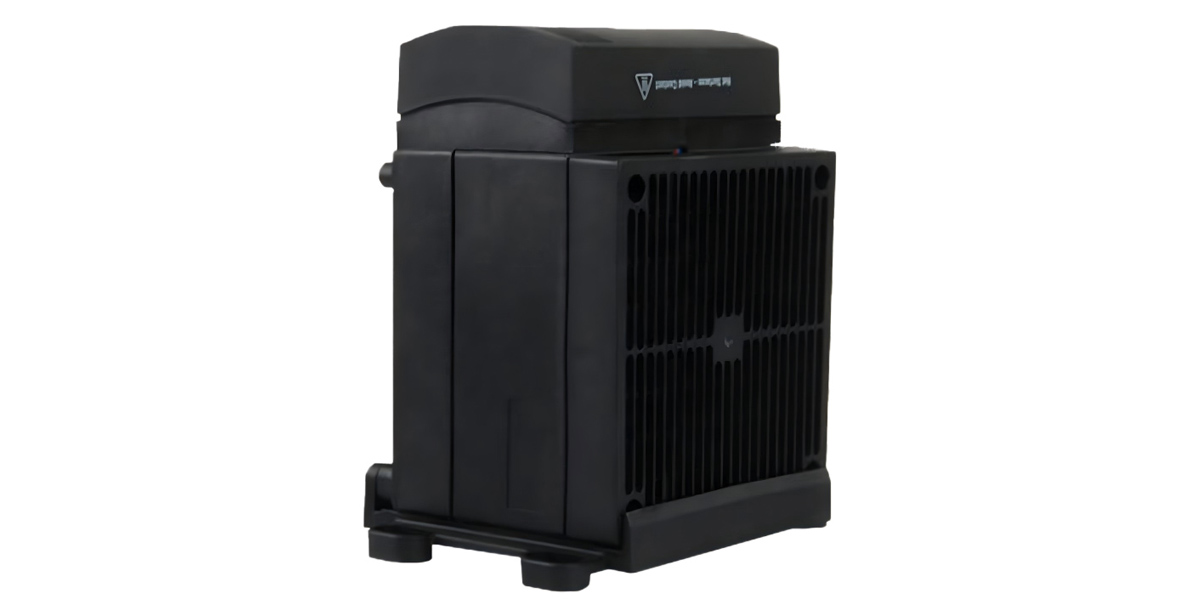
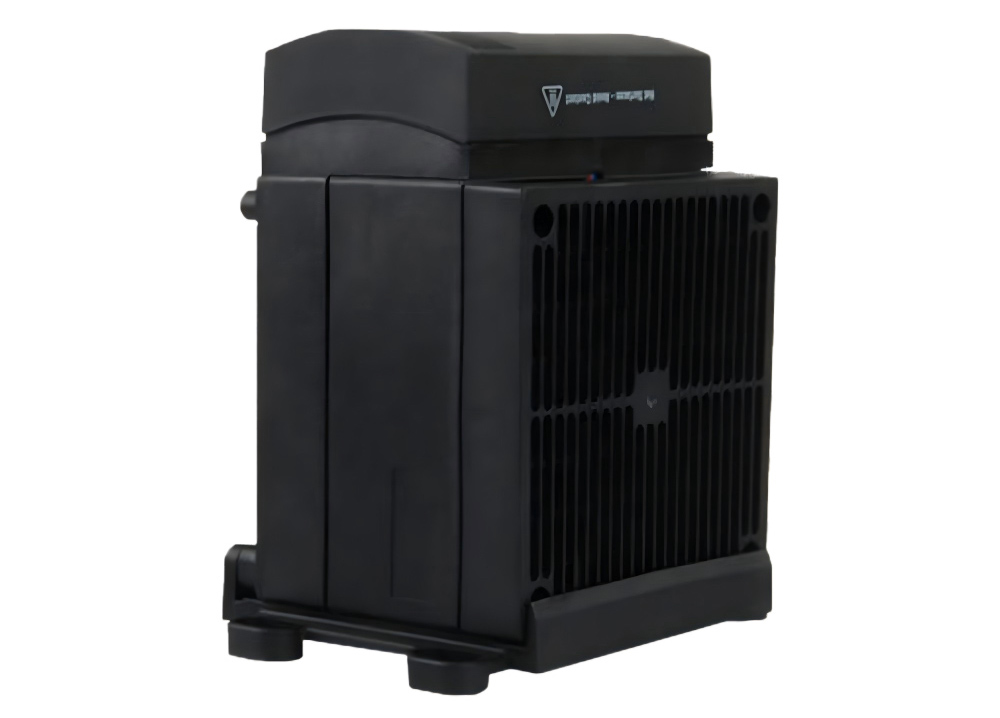
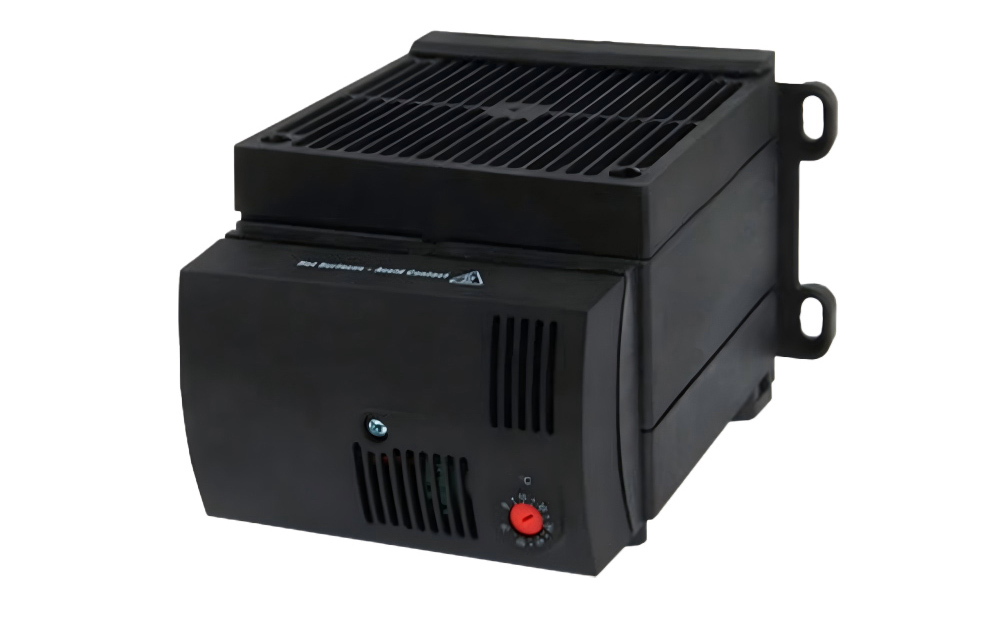
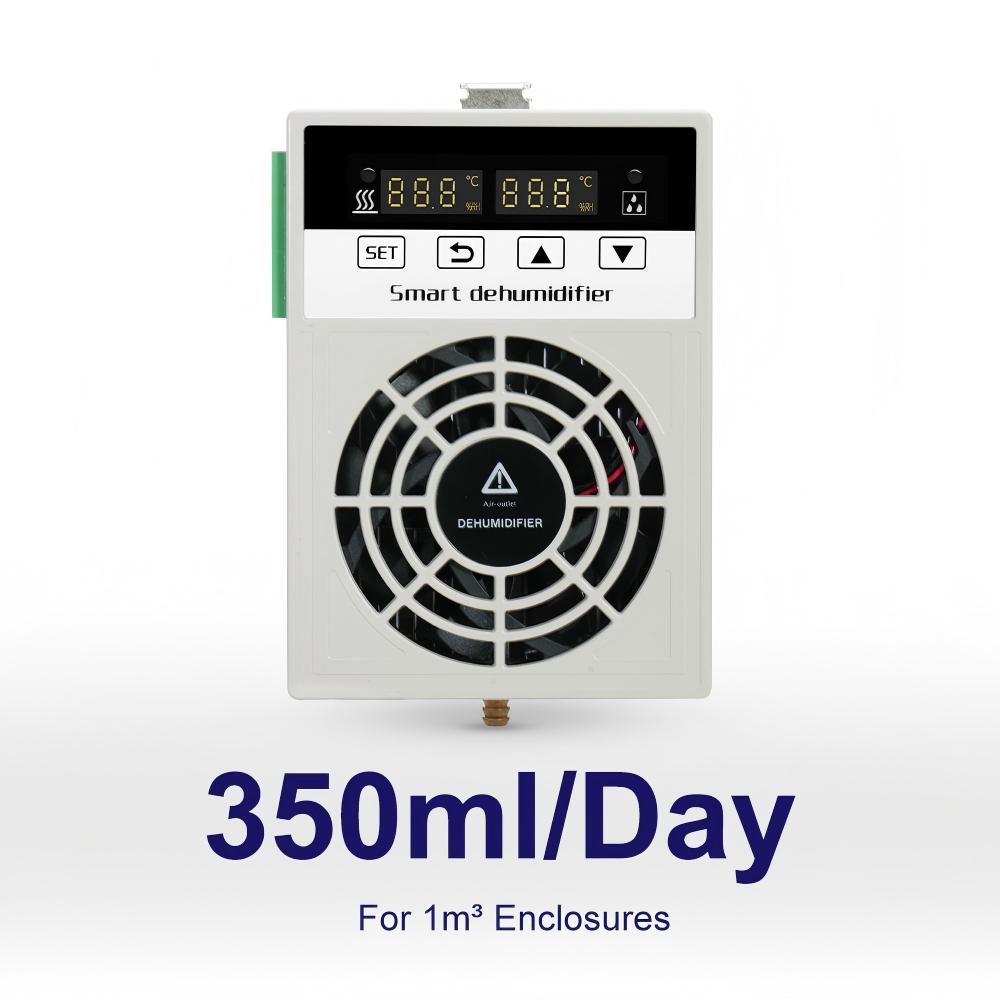
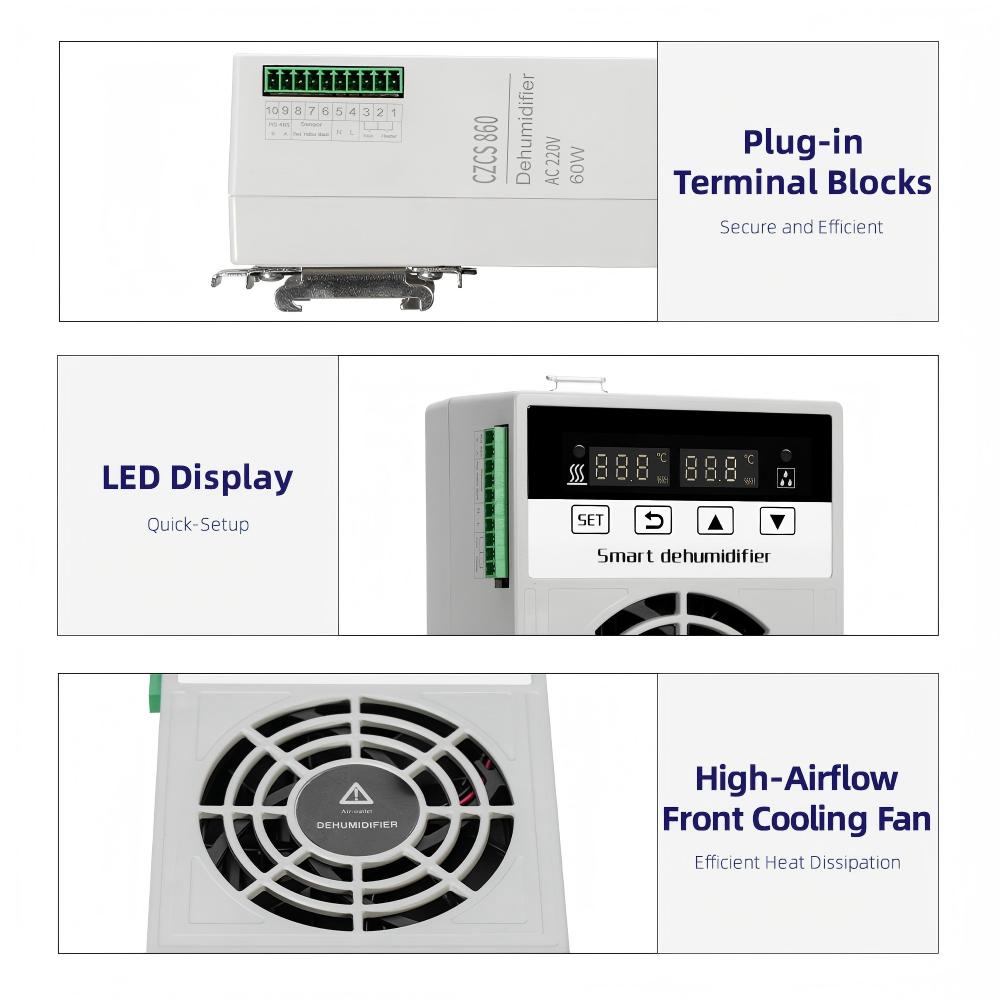
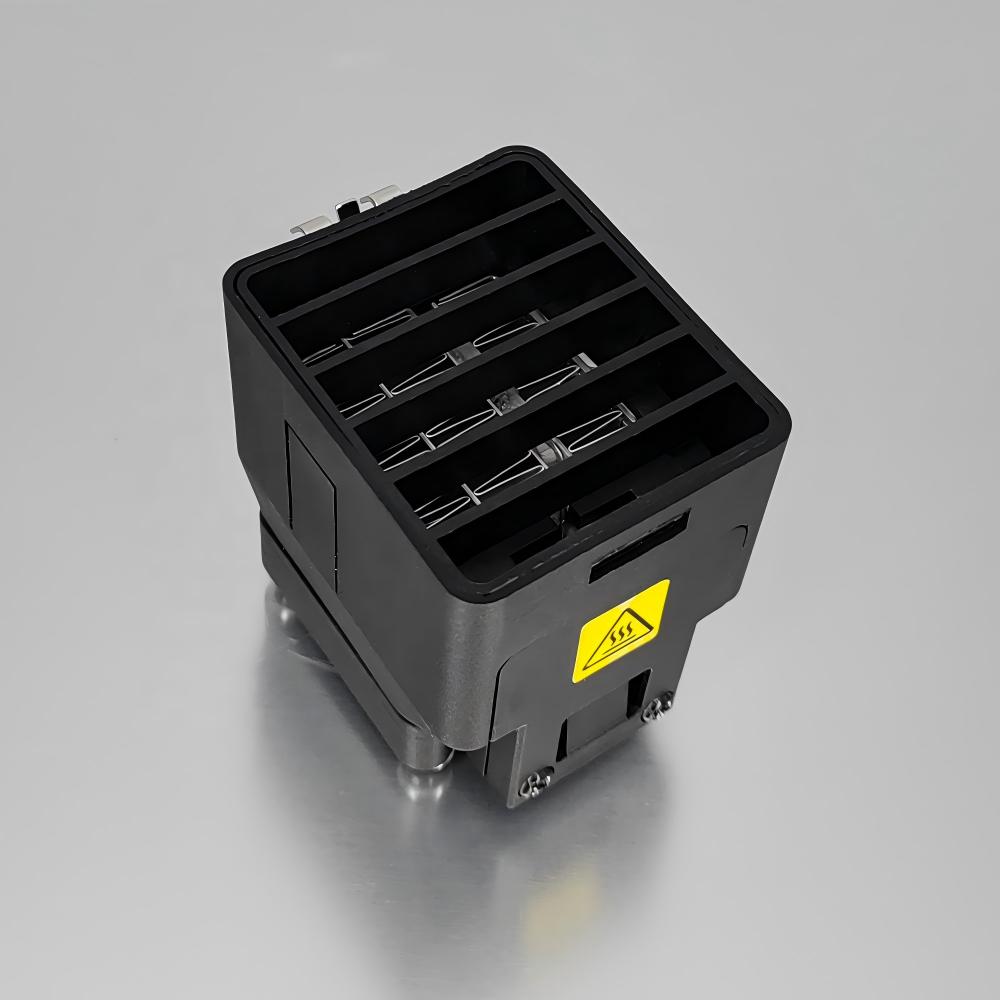
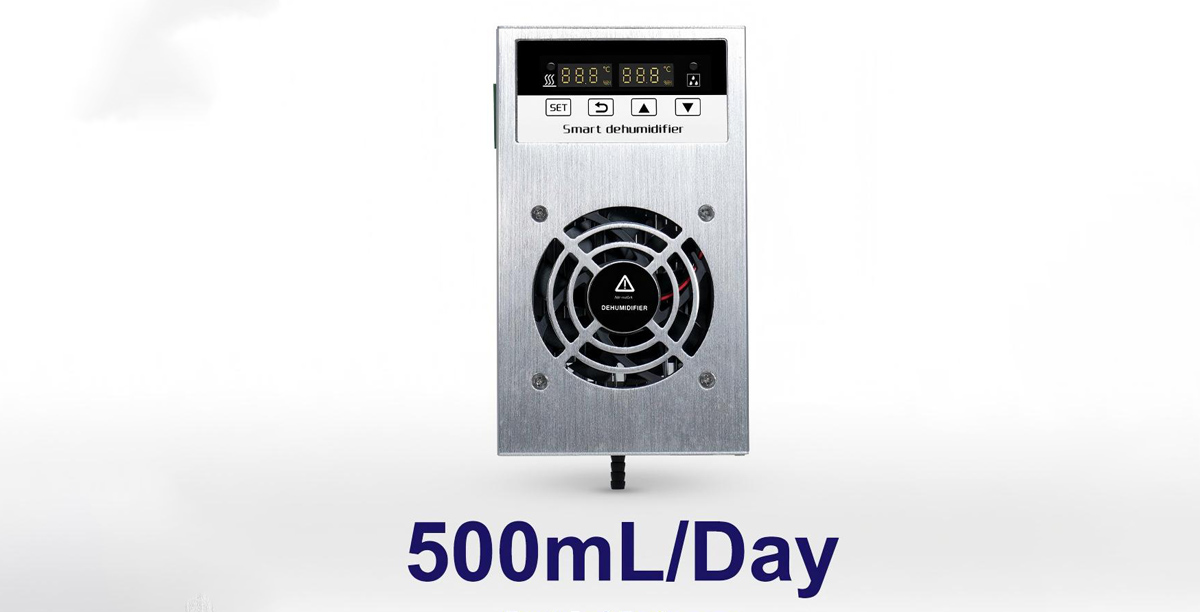
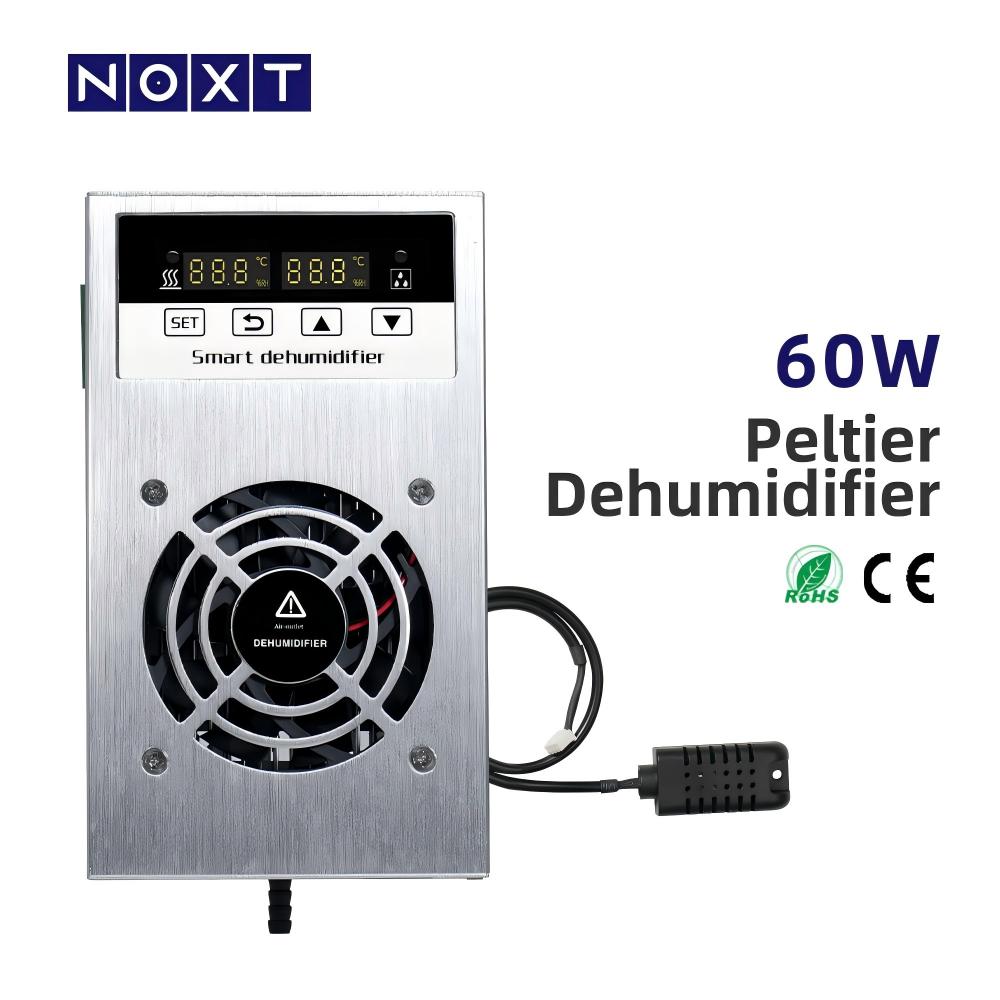
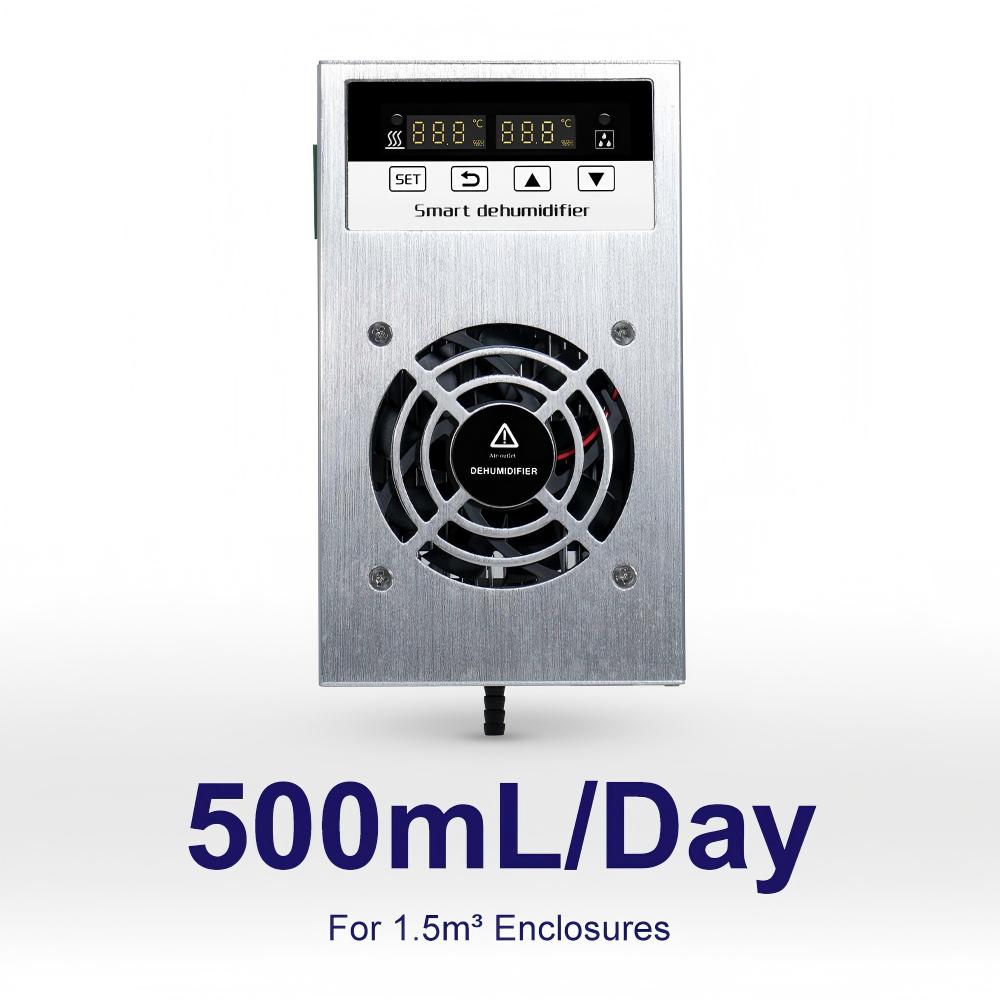
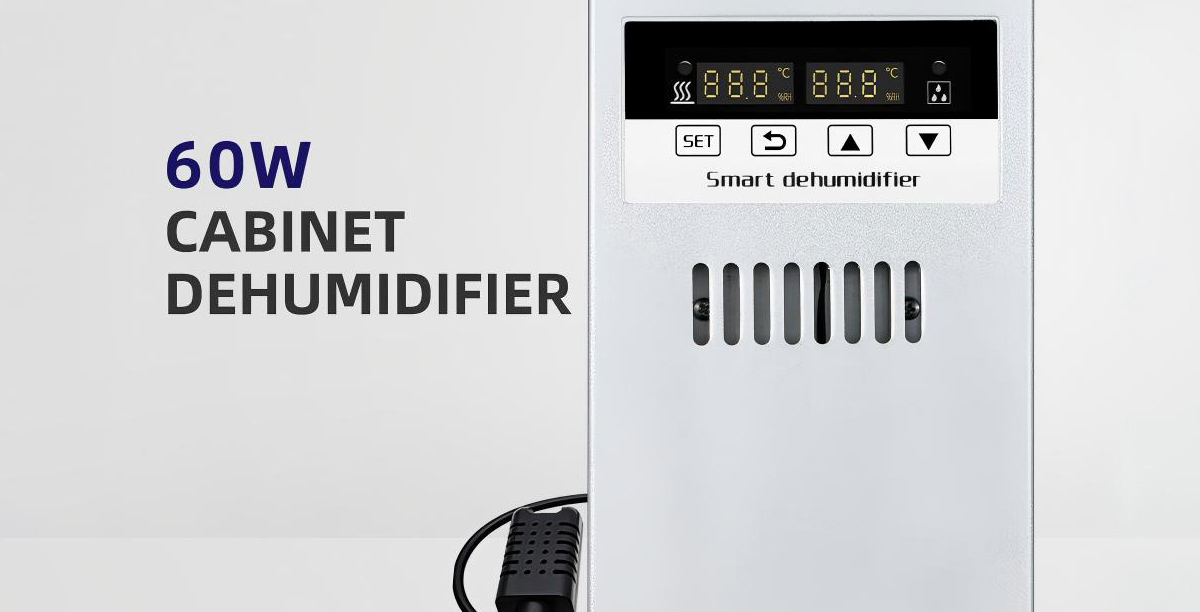
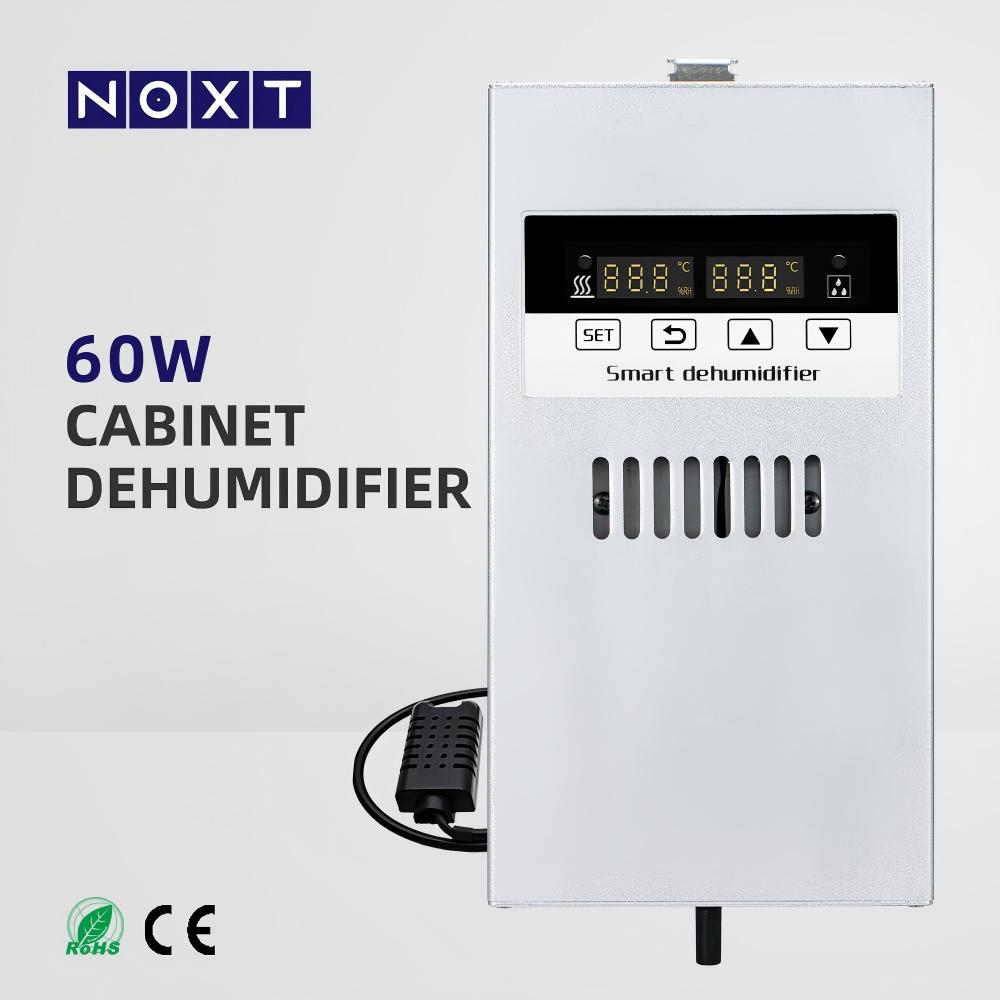
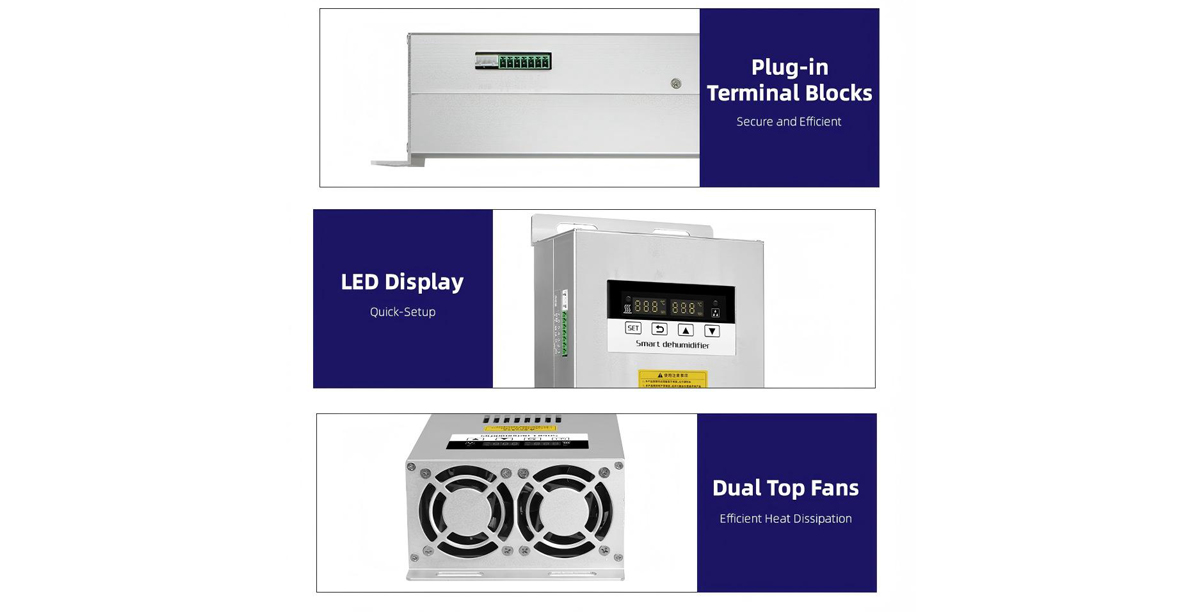
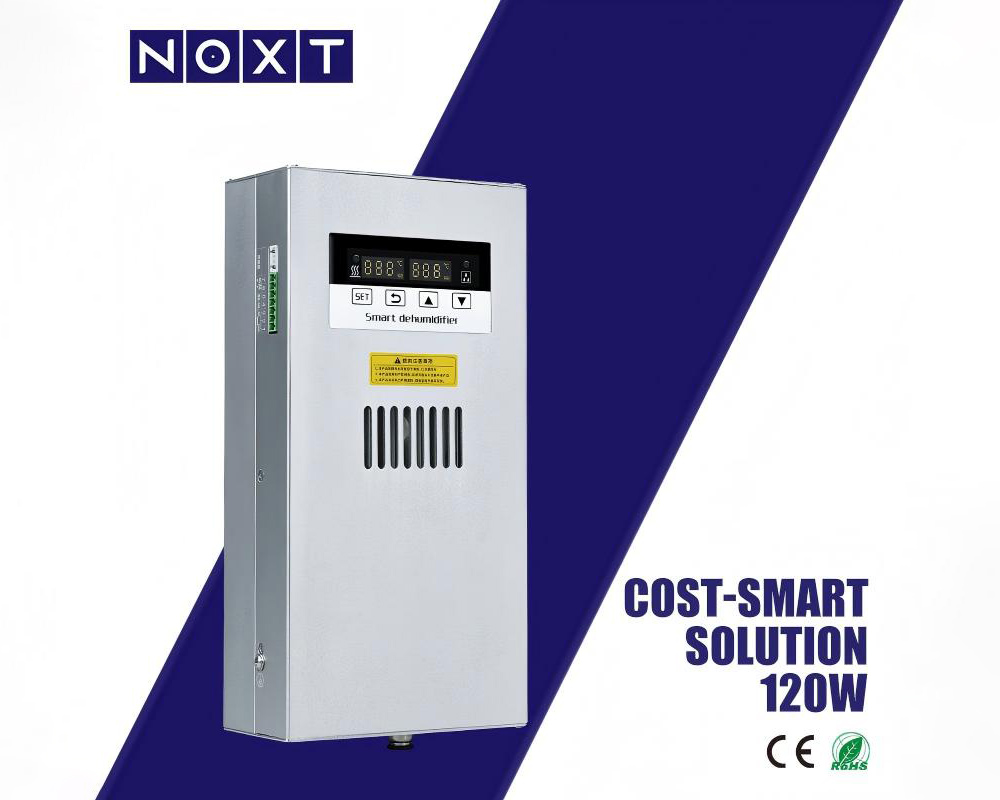
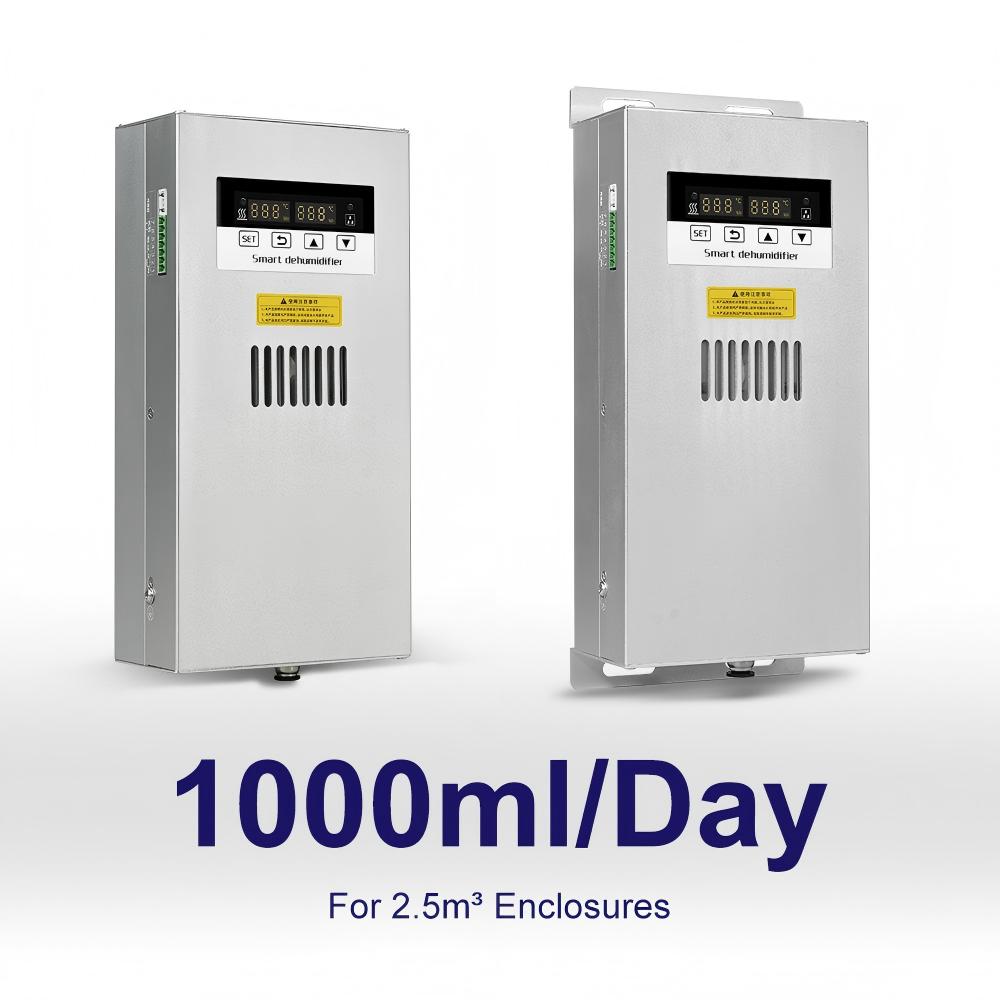
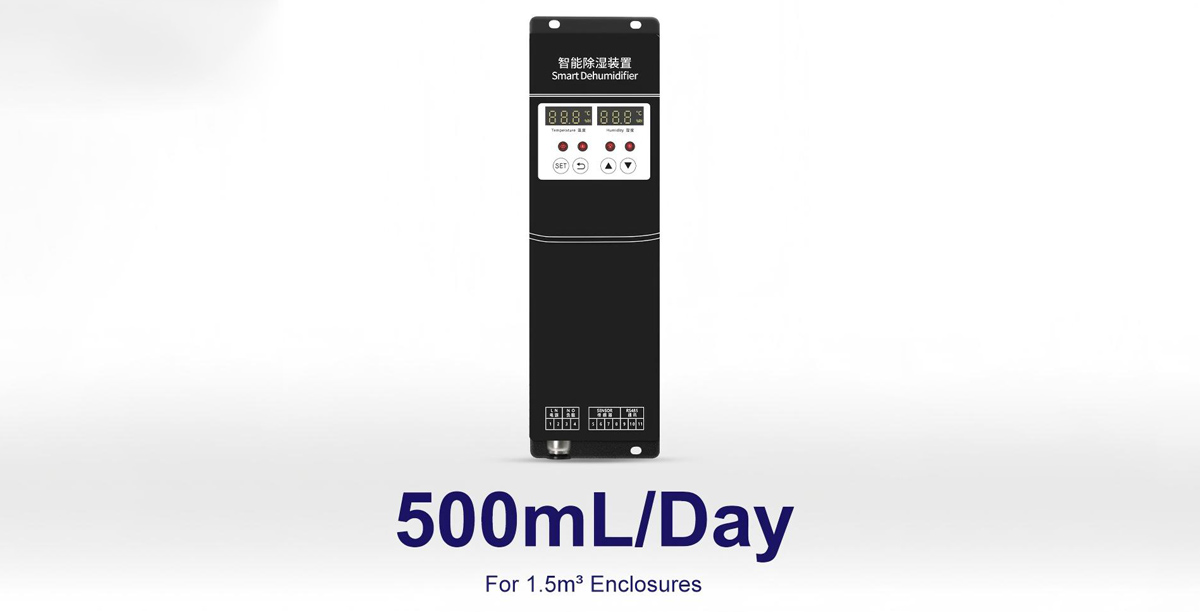
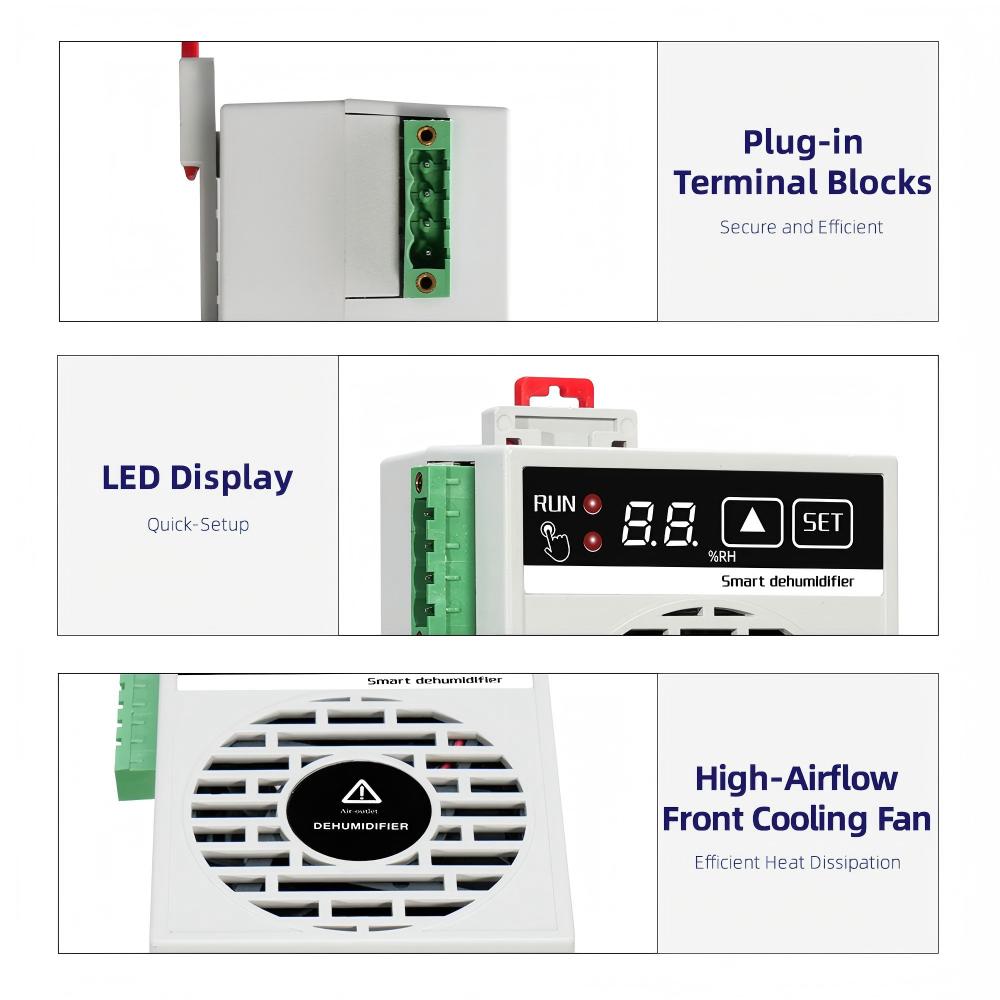
    The compact cabinet dehumidifier featured in this article, sized for outdoor telecom enclosures.

    An outdoor telecom cabinet is a sealed metal box, and like all sealed boxes, it breathes. During the day, the radios, rectifiers, and batteries inside generate heat, the air expands, and the cabinet pushes air out past the gaskets and cable entries. At night, the equipment cools down and the air contracts, so the cabinet pulls outside air back in.

    On a humid night, that air carries moisture. When the internal surfaces, the cabinet walls, the busbars, the module housings, cool below the dew point, water condenses on them.

    By early morning, you have droplets of water inside a cabinet full of live telecom gear, and by the time a technician arrives, most of it has evaporated, leaving only the corrosion behind.

    Several things make it worse. Sites that sit at low traffic overnight, or that have been decommissioned but still house backup gear, don’t generate enough heat to keep themselves dry. Coastal sites add salt to the moisture, which accelerates corrosion dramatically.

    Sites in climates with big day-night swings, or that see spring and fall freeze-thaw cycles, condense the hardest. And cabinets mounted at ground level, where they sit in tall grass or near standing water, pull in the most humid air of all.

    What the moisture actually damages

    The damage in a telecom cabinet is concentrated in the places that are hardest to fix in the field.

    • RF connectors and jumpers: Moisture works its way into connector interfaces and corrodes them. Corrosion on an RF connector adds return loss and eats signal quality, which shows up as degraded performance long before it shows up as a hard failure. By the time a tech replaces the jumper, the connector body on the radio is often corroded too.
    • Rectifiers and power supplies: These run hot and pull air through themselves for cooling, which makes them both a heat source and a moisture magnet. Condensation on a rectifier’s control board or output terminals leads to corrosion, intermittent faults, and premature failure. A rectifier that dies at 3 a.m. can take a whole site down if there’s no redundancy.
    • Battery compartments: In cabinets with battery backup, condensation near terminals and intercell connections causes corrosion that raises resistance and shortens battery life. On a site that depends on that backup during an outage, a corroded connection is the difference between riding through the outage and losing the site.
    • Ground and bonding bars: Corrosion on the ground bar is easy to miss and hard to forgive, because a bad ground connection shows up as noise, erratic behavior, and protection that doesn’t work the way it should.
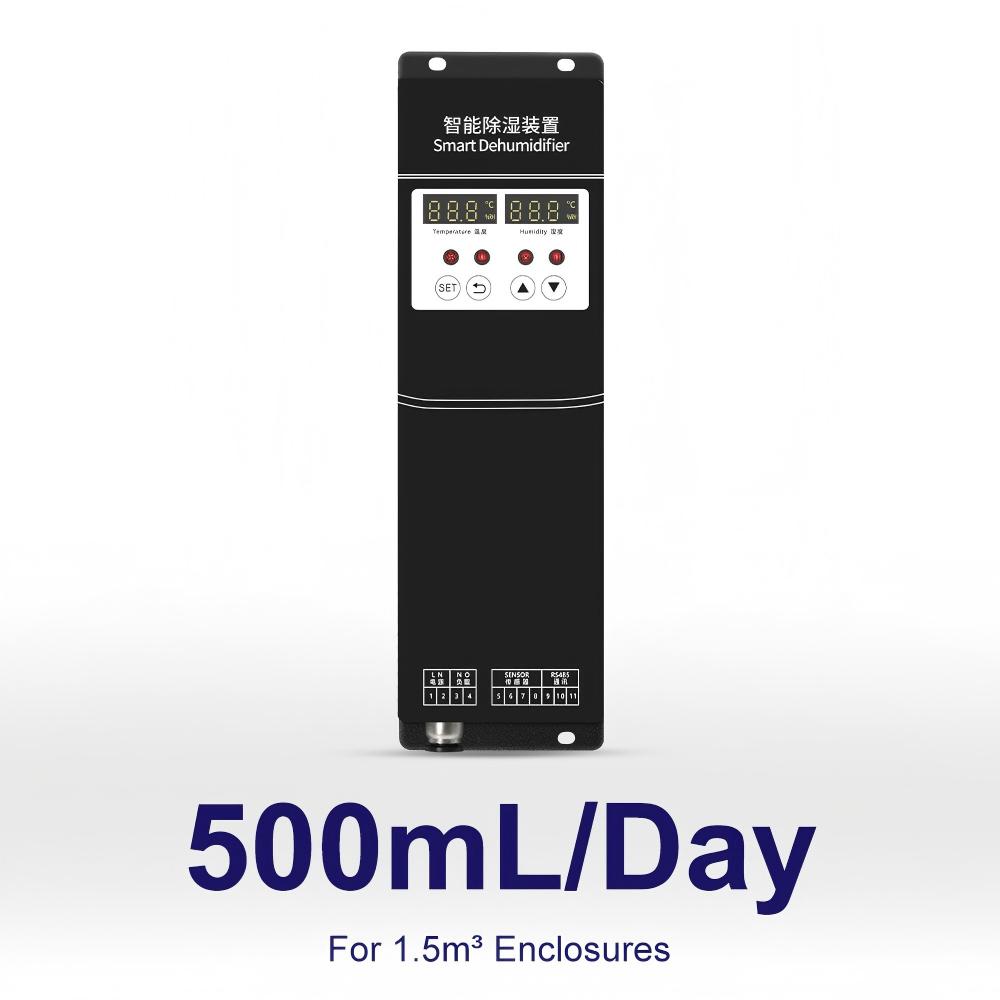
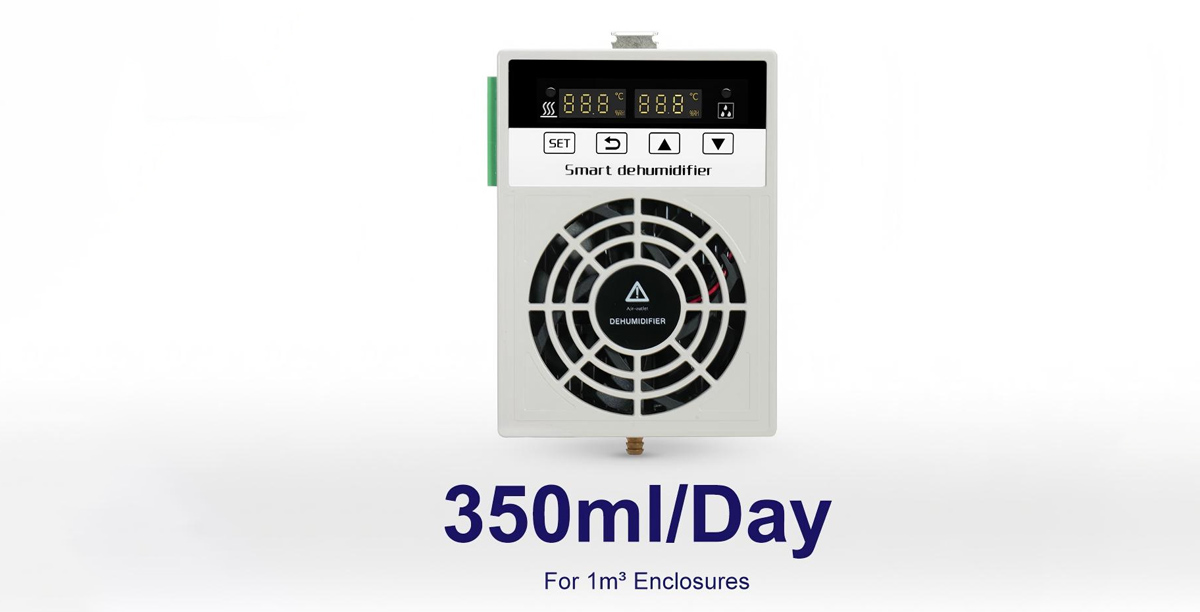
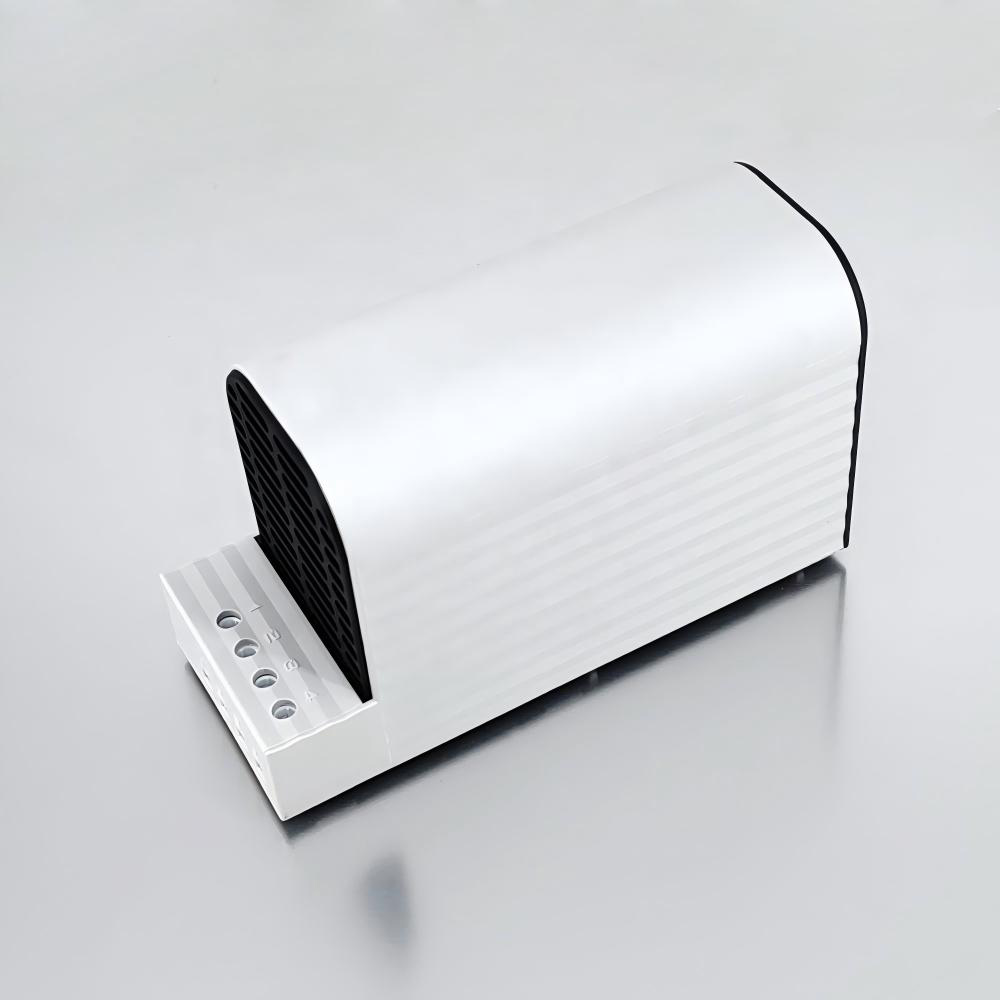
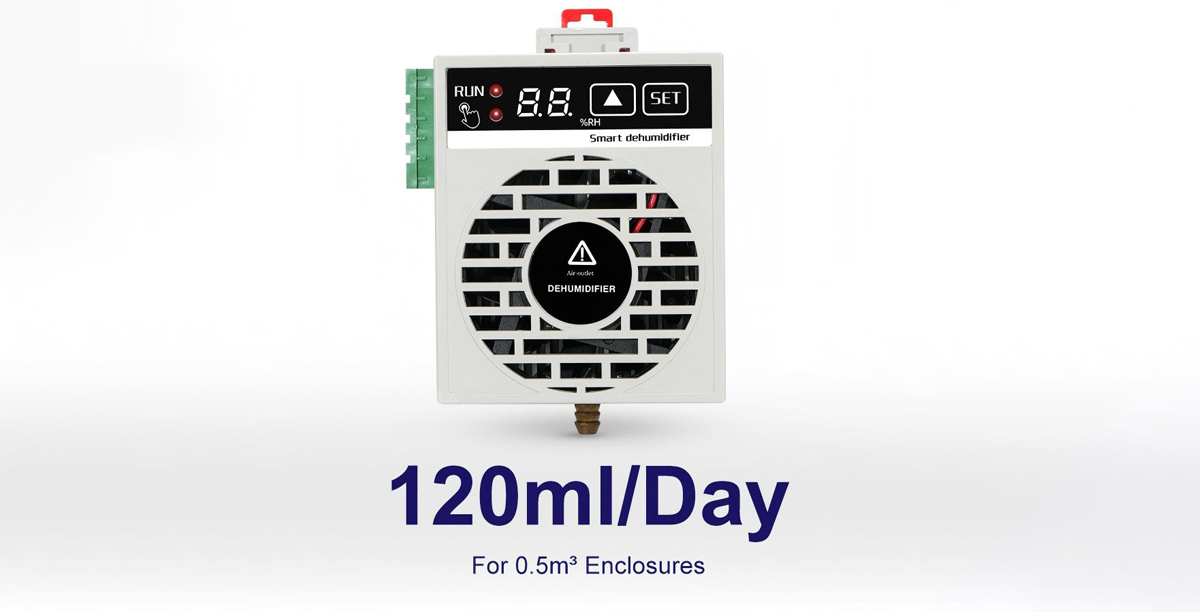
    A DIN-rail unit that runs unattended inside a base station cabinet, holding humidity at its set point.

    The cost shows up as truck rolls, premature module replacements, and degraded site performance, which is to say, the exact things network operators are trying to eliminate.

    What actually works

    The fix list for telecom cabinet condensation is short, and it’s all cabinet-level hardware that runs unattended.

    • Remove the moisture with a cabinet dehumidifier: For humid sites, the workhorse fix is a compact thermoelectric dehumidifier mounted inside the cabinet. It condenses water out of the air on a cold element and drains or evaporates it, holding the cabinet at a set humidity level instead of just warming the air. These units run around the clock, need no refills, and only cycle when the humidity climbs past the set point. Because telecom sites are often DC-powered, look for units that run on the site’s nominal DC voltage, typically 24 or 48 V DC, or on standard 120 V AC where that’s what the cabinet has. Matching the supply voltage is the single most common spec mistake, and it’s the easiest one to avoid.
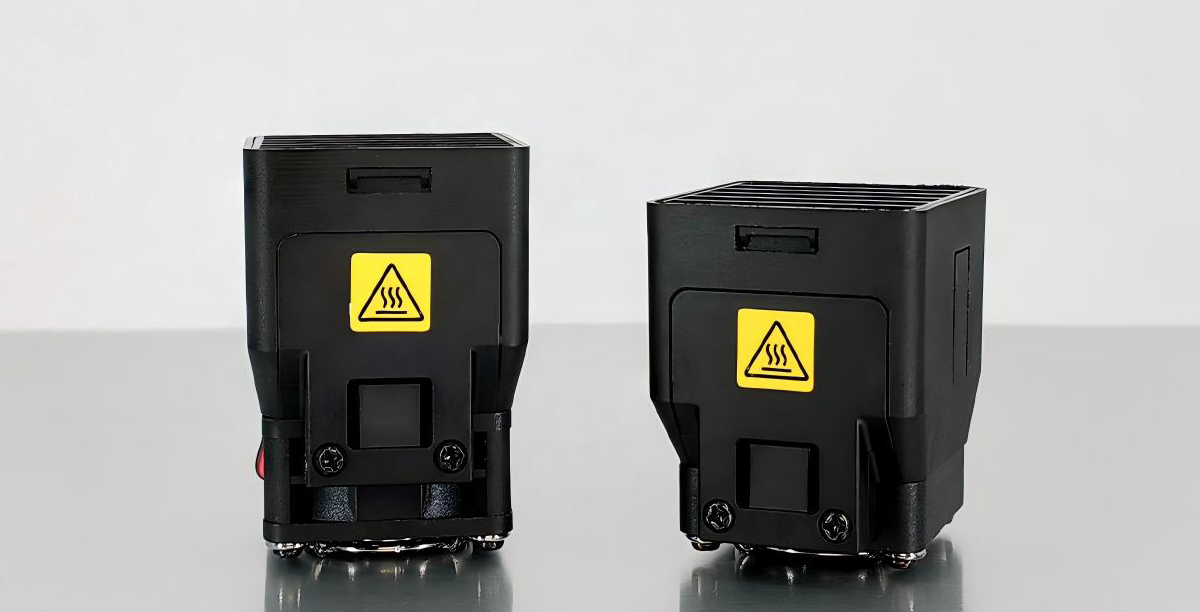
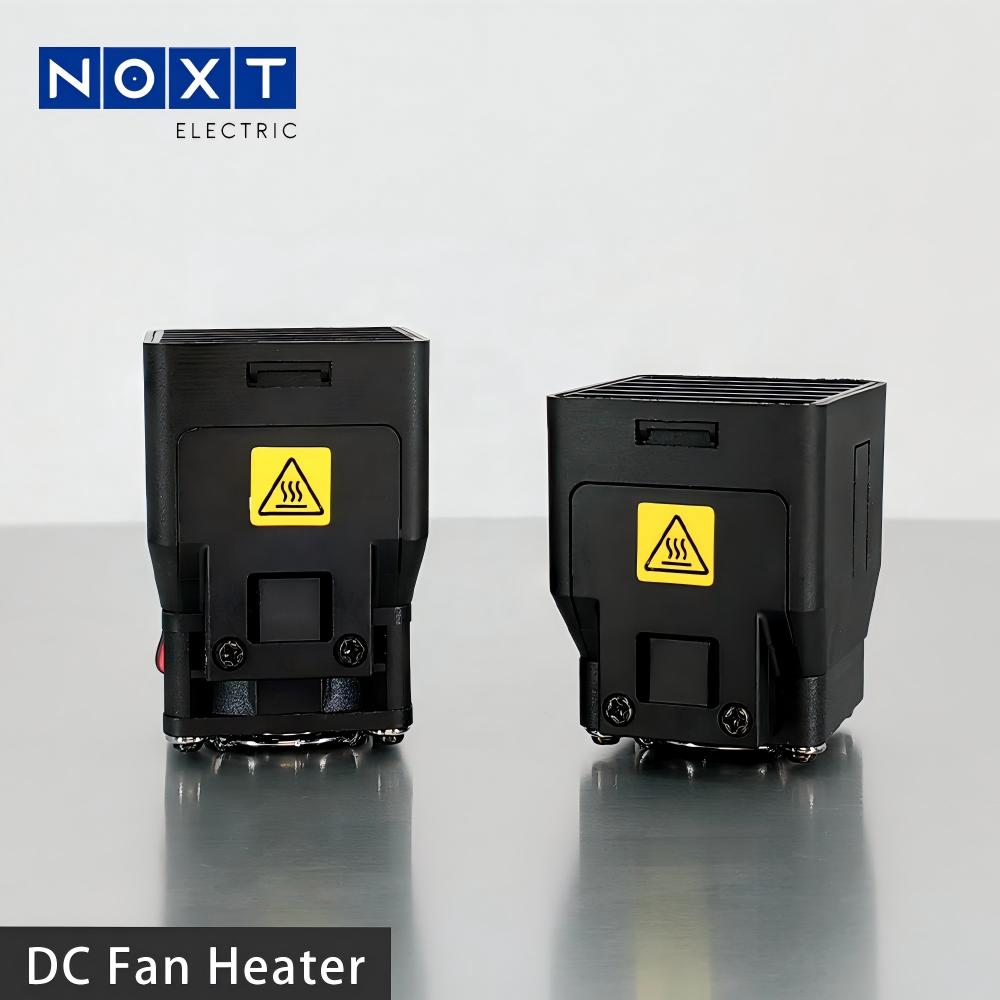
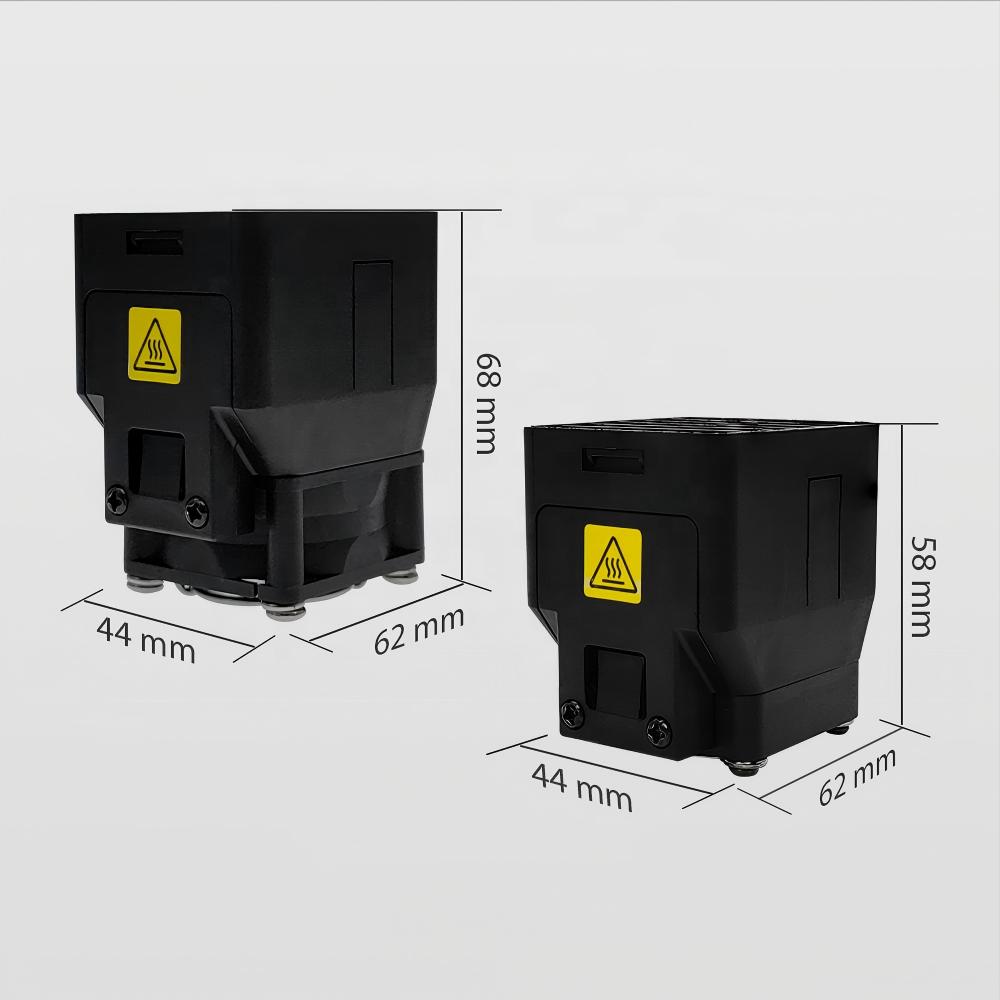
    • Add controlled heat for cold sites: In climates where cabinets also freeze, a dehumidifier isn’t a substitute for heat. A low-wattage enclosure heater, switched by a thermostat or a humidity controller, keeps the cabinet above the dew point in winter and keeps battery compartments from freezing. Spec heat and dehumidification together and each one runs less, because the dehumidifier handles the humid months and the heater handles the cold ones.
    • Let the cabinet breathe, deliberately: A sealed cabinet breathes anyway, through pressure changes, so the choice isn’t sealed versus vented, it’s uncontrolled breathing versus controlled. A small breather vent with a moisture barrier lets the cabinet equalize pressure without pulling in liquid water. It’s not a cure for a genuinely humid site, but it takes the edge off the daily pumping that pulls humid air in.
    • Seal the openings that shouldn’t be there: Check the cable glands and conduit entries, especially at the bottom of the cabinet where water and humid air find their way in. Unused knockouts and worn gaskets are leaks you can fix in ten minutes. And make sure the cabinet isn’t sitting in a spot where it’s constantly bathed in humid ground air, tall grass, sprinklers, or standing water all make the job harder.

    What to look for when you buy

    If you’re outfitting sites, the spec sheet matters as much as the price. Check the supply voltage first, as noted, then look at the humidity set point, which should be adjustable in the 40 to 60 percent RH range for telecom gear.

    Look at how the unit handles the water it collects: hose-drain or evaporative designs beat a collection tray that somebody has to empty on a tower visit. Confirm the mounting works for the cabinet, DIN-rail is the standard, and check the manufacturer’s documentation for the environment.

    Many quality units are built to CE and RoHS, which suits a lot of industrial telecom work, but if your program requires listed equipment, confirm the paperwork before you standardize on a model, not after you’ve installed fifty of them.

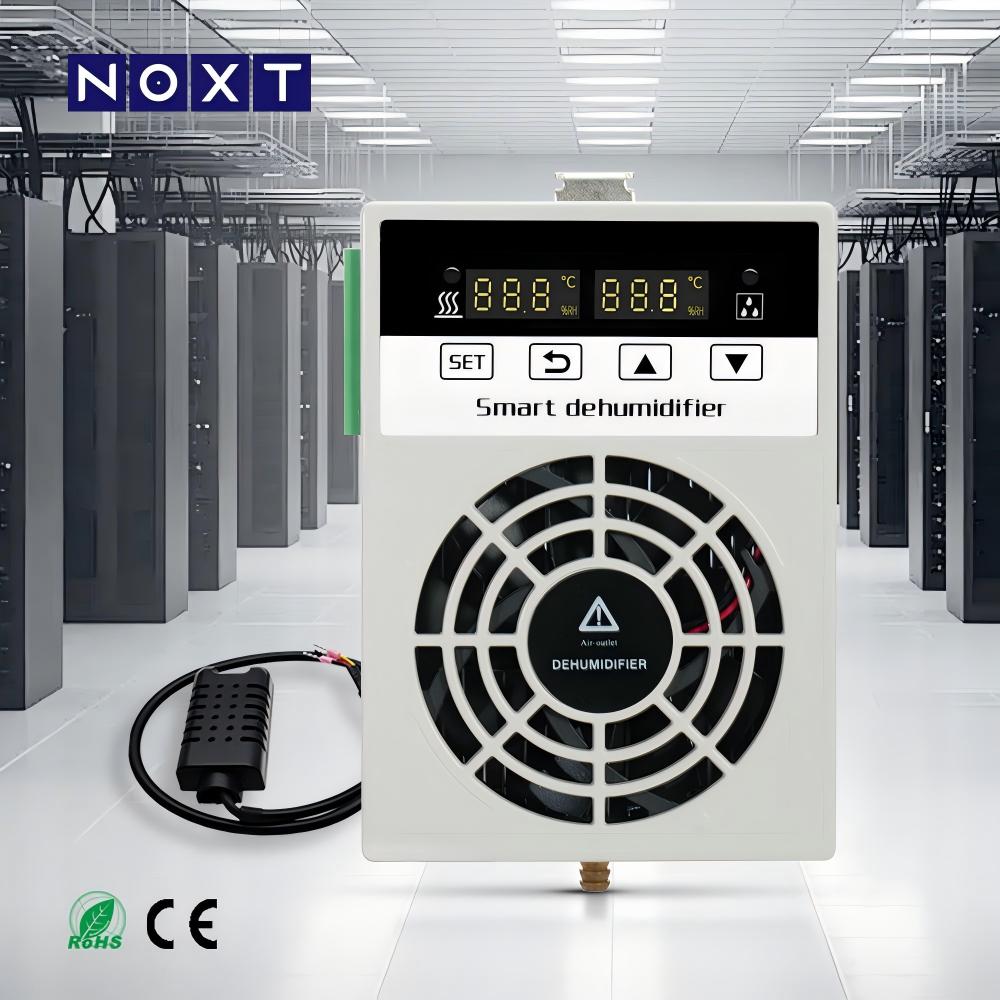
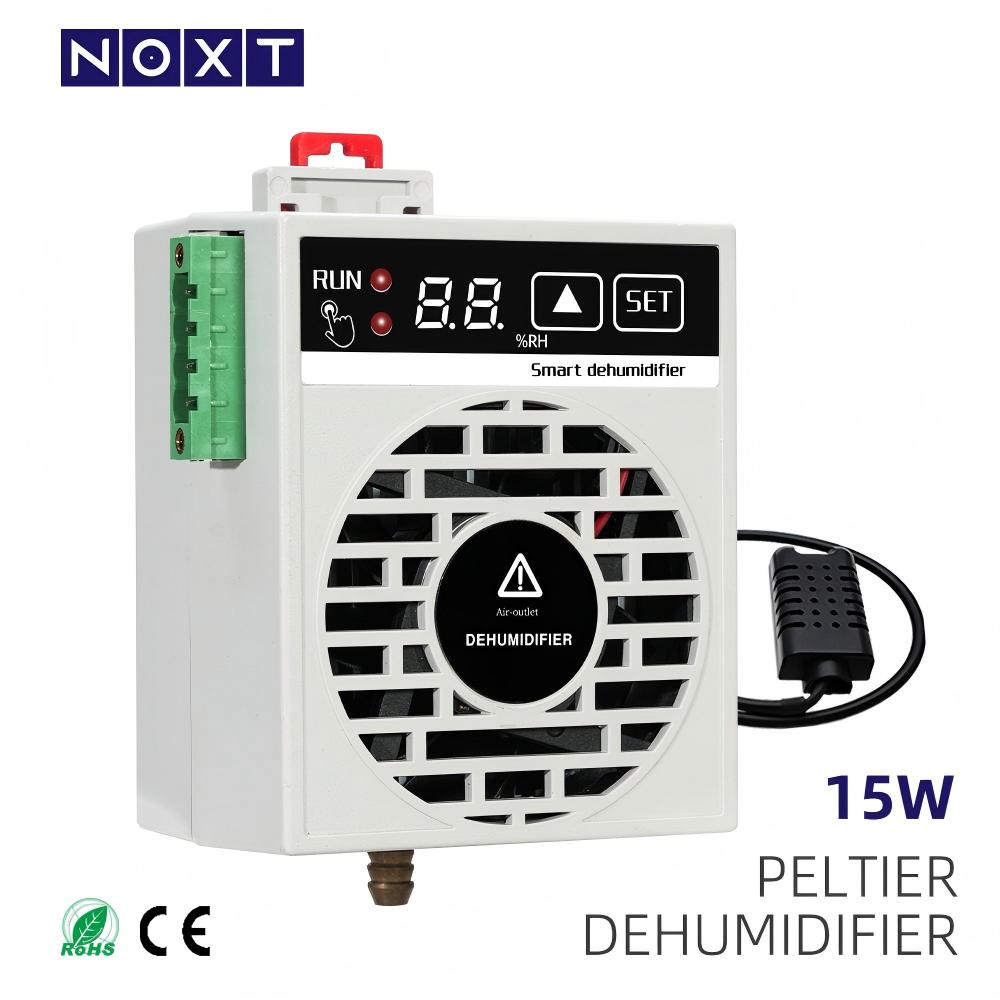
    Around-the-clock moisture removal keeps radios, rectifiers, and connectors from corroding.

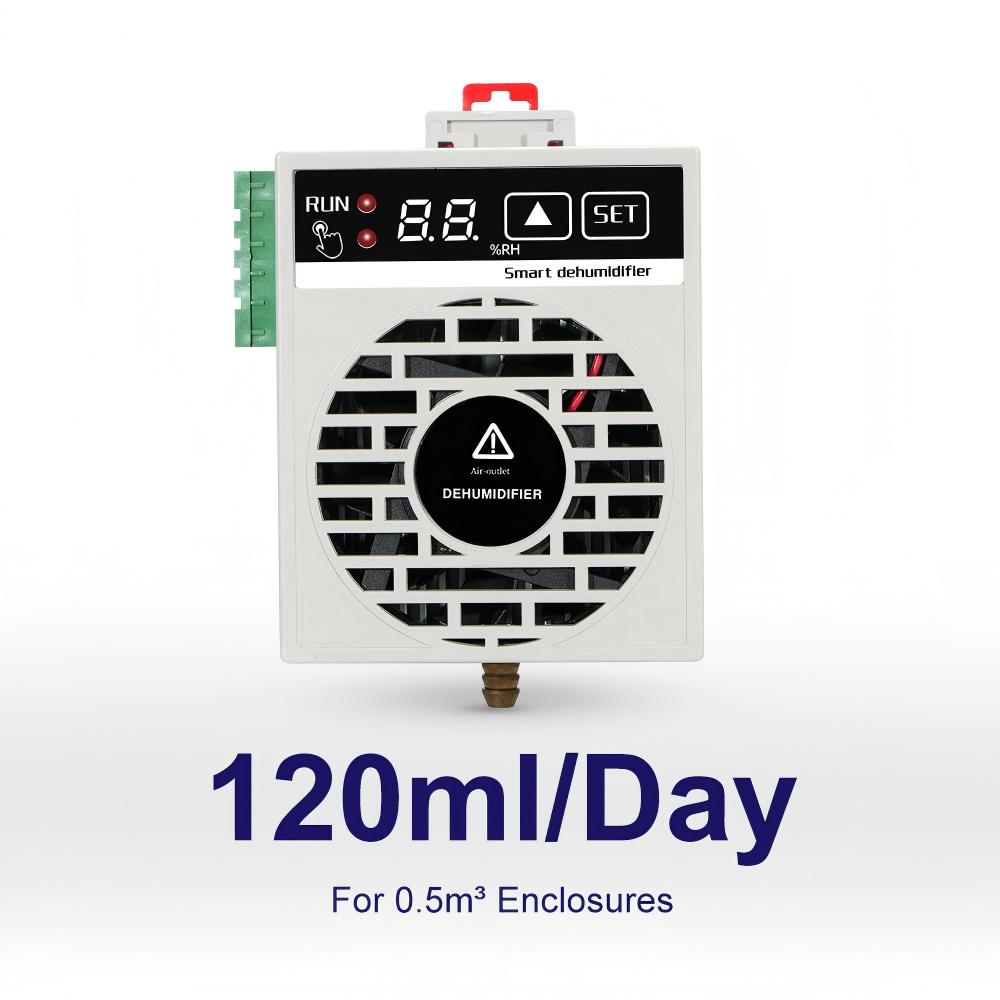
    Around-the-clock moisture removal keeps radios, rectifiers, and connectors from corroding.

    Build it into the site survey

    The sites that keep failing are the ones nobody surveyed for moisture. When you’re planning a deployment or a retrofit, add a humidity check to the site survey: what’s the climate, how humid is the worst season, is the site coastal, does the cabinet sit in shade, and what voltage does the cabinet have available?

    That ten-minute survey tells you which sites need a dehumidifier, which need a heater, and which need both. Standardizing on one climate-control package per site class is how operators turn this from a recurring repair cost into a one-time capital cost.

    A maintenance note for tower crews

    The checks don’t need to be elaborate. On a normal site visit, look for beading on a cool morning, check that the dehumidifier is actually cycling, and confirm the drain is clear and the sensor is clean.

    A unit that’s dead is invisible until the cabinet corrodes, so a thirty-second glance at the humidity display is worth more than a diagnostic report.

    And when you replace a corroded connector or a failed rectifier, ask whether the cabinet has a moisture problem, because the part you just swapped is going to corrode again until somebody fixes the environment it lives in.

    The short version

    Telecom cabinet condensation is a small, quiet problem with a big cost, and it has a standard engineering answer.

    Give the cabinet controlled ventilation, add a humidity-controlled dehumidifier on the sites that need it, add controlled heat where winters demand it, and check the hardware on the same schedule as everything else at the site.

    On gear that’s supposed to run for years between visits, a compact DIN-rail dehumidifier that sips from the site’s DC bus is cheap insurance, and it’s the difference between a cabinet that corrodes and a cabinet that just works.
  • Thermostat, Hygrostat, or Thermo-Hygrostat: Which Enclosure Controller Do You Actually Need?

    Thermostat, Hygrostat, or Thermo-Hygrostat: Which Enclosure Controller Do You Actually Need?

    Walk through any plant and you’ll see the same thing: cabinet heaters humming away in July, burning power in enclosures that haven’t been cold in months.

    Someone mounted a heater years ago, wired it straight to power, and nobody ever questioned it. The heater runs because it runs, and the panel gets cooked for no reason.

    The fix is a controller, but not everyone agrees on which kind, and the terminology doesn’t help. Thermostat, hygrostat, thermo-hygrostat, humidistat, temperature and humidity controller, they all get thrown around like they’re the same thing.

    They’re not, and picking the wrong one means either wasted energy or condensation you thought you’d solved. Here’s the plain-English breakdown.

    The three jobs, and the three devices

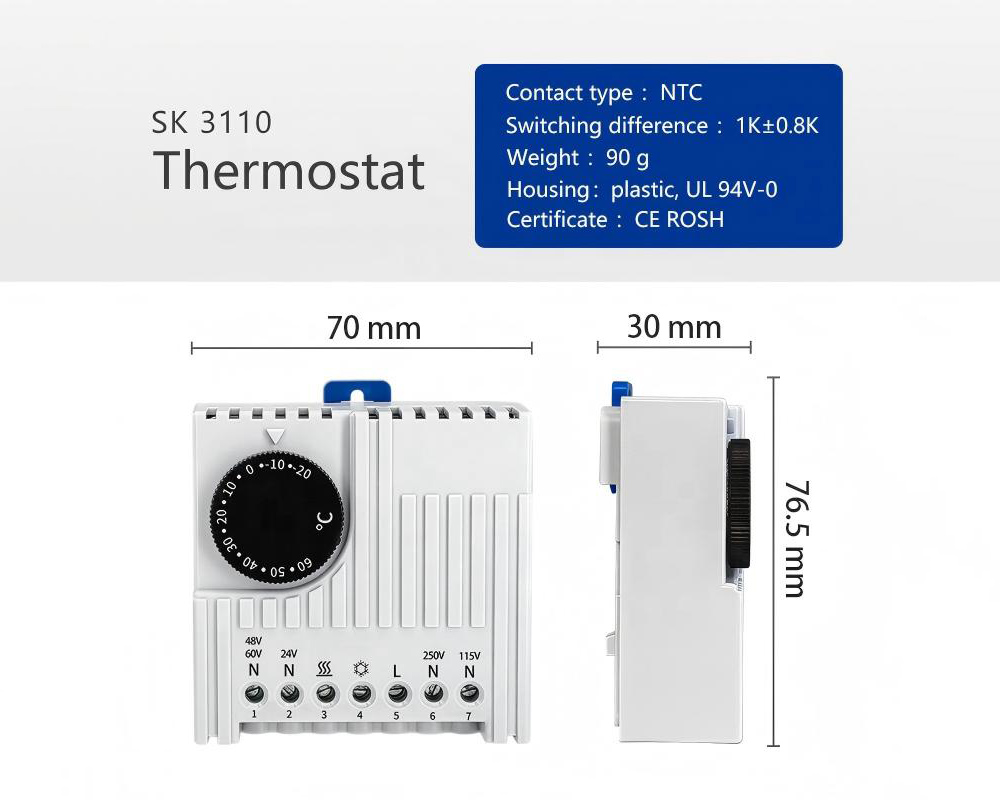
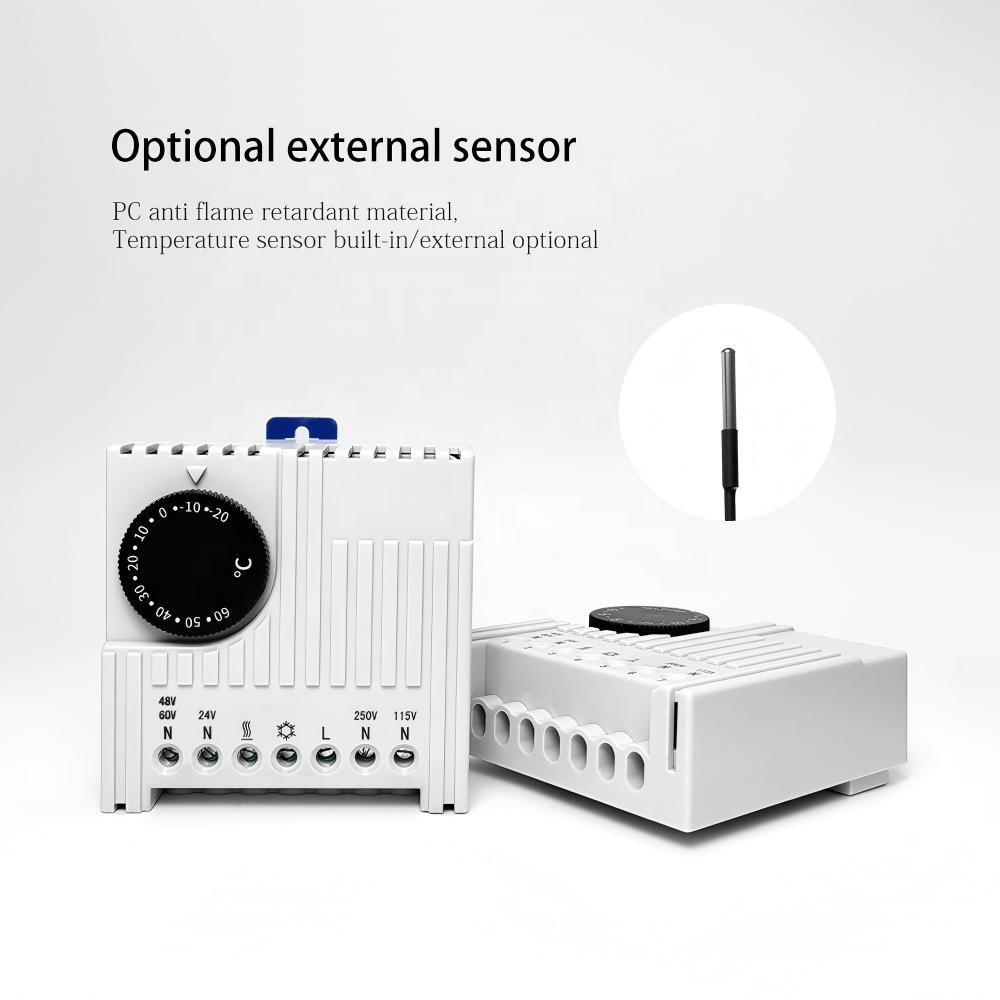
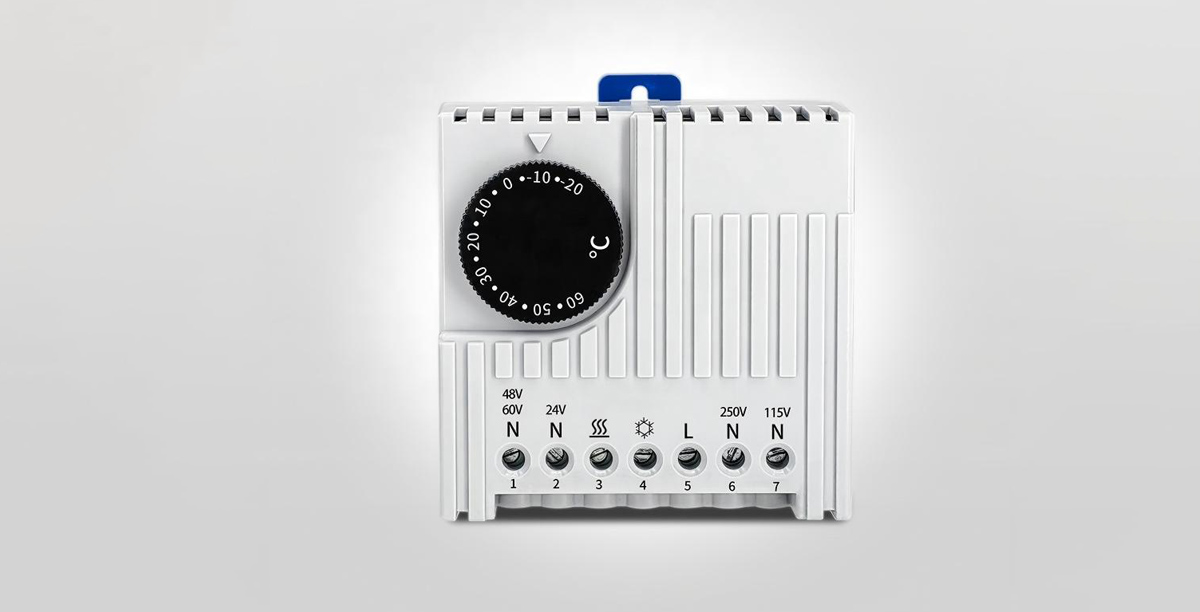
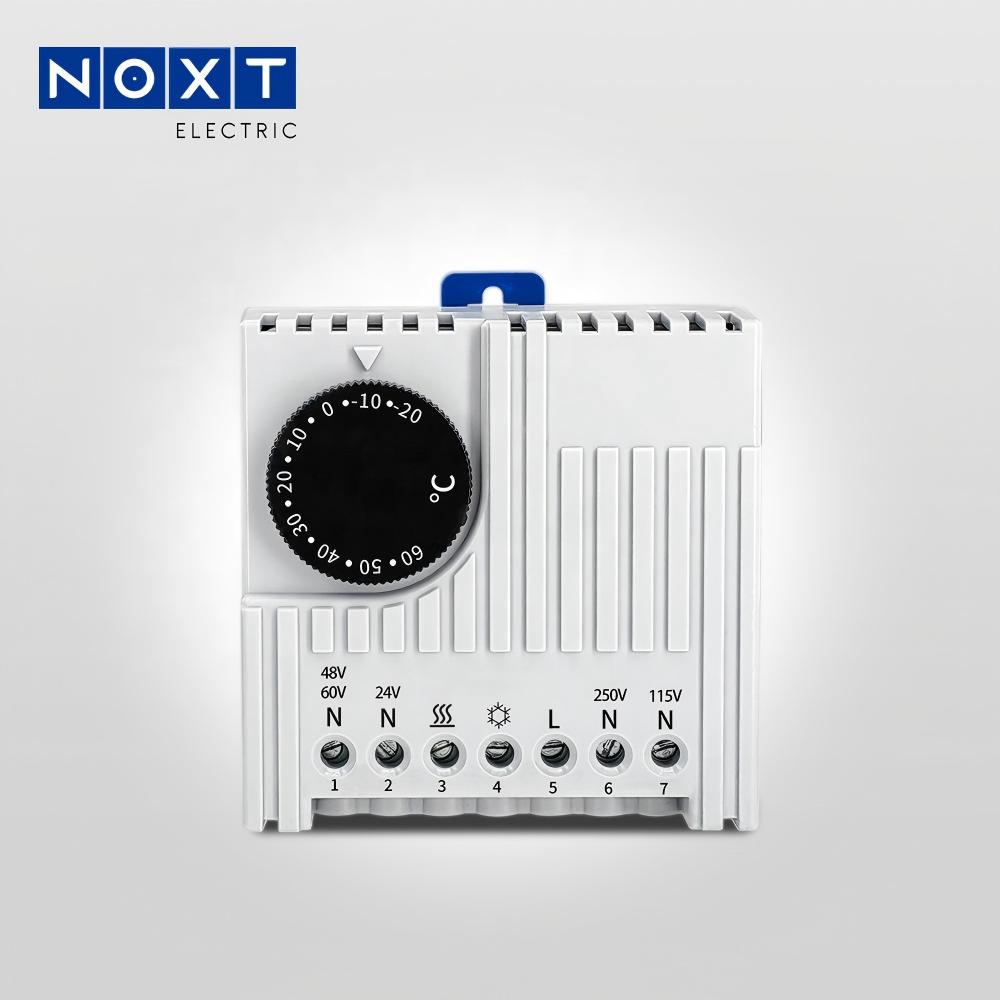
    A DIN-rail enclosure controller of the kind discussed in this article.

    • Thermostat: responds to temperature. An enclosure thermostat is a switch that opens or closes based on the air temperature in the cabinet. Set it to switch on at 40 °F and it closes the circuit to the heater whenever the cabinet dips below that. It’s simple, mechanical or electronic, and it’s the right tool when your only problem is cold. If the enclosure sits in an unheated spot at a remote site in Minnesota, a thermostat-controlled heater is the classic, reliable answer.
    • Hygrostat: responds to humidity. A hygrostat, also called a humidistat, senses relative humidity instead of temperature. Set it to switch on at 70 percent relative humidity and it fires the heater whenever the air inside gets muggy, regardless of whether it’s 30 degrees or 80 degrees outside. This is the one that catches the condensation problems a thermostat misses, because condensation is a humidity event, not just a cold-weather event. A coastal cabinet can sweat in June when it’s 75 degrees out, and a temperature-only thermostat will never notice.
    • Thermo-hygrostat: responds to both. A thermo-hygrostat, or a temperature and humidity controller, combines the two. It heats when the cabinet gets too cold, or when the humidity gets too high, whichever comes first, and it leaves the heater alone when conditions are fine. This is the modern default for anything that’s serious about protection without wasting power, and it’s why most DIN-rail controllers sold for enclosures today do both jobs in one box.

    Why running a heater 24/7 is the expensive way to do this

    It’s worth doing the math once, because it changes how you look at controllers. A modest 100-watt heater running nonstop burns about 876 kilowatt-hours a year, which at typical U.S. industrial rates is somewhere north of $100 a year for a single cabinet, before you count the air conditioning that then has to remove that heat in summer. Multiply by fifty cabinets and you’re lighting money on fire.

    Controlled properly, that same heater might run a few hundred hours a year, mostly on cold nights and muggy spring mornings. The controller pays for itself in the first season. And there’s a second, quieter benefit: components last longer when they’re not being thermally cycled.

    Heat is the enemy of electrolytic capacitors, seals, and lubricants. A heater that idles all summer in a sealed box is slowly aging everything it’s supposed to protect.

    Which one for which cabinet?

    Here’s a practical way to think about it.

    Adjustable set points let the controller match the cabinet's actual environment.

    If the cabinet is indoors, in a conditioned space, and condensation is only a winter concern, a basic thermostat is honestly fine. It’s cheap, it’s mechanical, and there’s not much to go wrong.

    If the cabinet is outdoors, in an unheated building, near a washdown area, or anywhere humidity spikes with the seasons, skip the plain thermostat and go straight to a temperature and humidity controller.

    The extra money buys you protection on the days that fool everyone: the warm, humid stretch in spring when the cabinet interior is cooler than the outside air and water starts forming on every metal surface. A thermostat sitting at its 40-degree set point just watches it happen.

    For sealed outdoor enclosures, coastal sites, and cabinets full of electronics, the thermo-hygrostat is the right call, and many of the newest units add a dehumidifier or fan output so one small DIN-rail device can manage the whole cabinet climate.

    How to set it up so it actually works

    A controller is only as good as its settings, and this is where most installations go sideways. A few practical rules:

    Set the temperature a few degrees above the dew point, not to “comfortable.” You’re not trying to keep the cabinet at 70 °F. You’re trying to keep the coldest internal surface above the dew point. A set point in the mid-40s to low-50s °F is usually plenty for a heater in an outdoor cabinet. Higher just wastes power.

    Set the humidity around 60 to 70 percent. Corrosion risk climbs quickly above about 60 percent relative humidity, so a humidity set point in the 60 to 70 percent range gives you a buffer without cycling the heater constantly. If the cabinet houses really sensitive electronics and the site allows it, you can run lower, but every percentage point you drop means more heater runtime.

    A compact, panel-friendly controller used to switch enclosure heaters only when needed.

    Use the differential. Controllers have a small dead band, or differential, so the heater doesn’t click on and off every thirty seconds. A differential of a few degrees, or a few percent humidity, keeps the cycle times reasonable and saves the relay. If your controller lets you set it, don’t leave it at zero.

    Mount the sensor where the problem is. The controller’s sensor should be reading the air near the bottom of the cabinet or near the components most at risk, not right next to the heater’s discharge. A sensor sitting in the heater’s warm airflow will tell the controller everything is fine while the far side of the cabinet is condensing. If the controller has a remote sensor option, use it.

    Keep the cabinet’s own airflow in mind. Heaters and controllers need the air in the cabinet to move a little. If the box is packed so tight that nothing circulates, you’ll get cold pockets and hot spots no matter how smart the controller is. A little breathing room, or a low-speed fan in big cabinets, makes the controller’s job much easier.

    What to buy

    For new builds, the cleanest answer is usually a DIN-rail temperature and humidity controller rated for the supply voltage in the panel, paired with a heater that matches the cabinet size.

    Many manufacturers, including the enclosure-climate specialists in Yueqing like Zhenrui Electric, sell the controller and heater as a matched set with the sensor and the relay already figured out.

    If you’re sourcing direct, just confirm the input voltage (120 V or 240 V for U.S. panels), the relay rating, and that the documentation satisfies your project’s listing requirements.

    A temperature and humidity controller is one of those upgrades that feels like a luxury until you install it, and then you wonder why every cabinet doesn’t have one. The heater stops being a dumb appliance and becomes part of the protection system, running only when the cabinet actually needs it.

    Your components stay cooler in summer, drier in spring, and warmer in winter, and your power bill stops subsidizing a heater that never learned to take a day off.

  • Moisture in Electrical Panels: The Safety, Corrosion, and Maintenance Checklist

    Moisture in Electrical Panels: The Safety, Corrosion, and Maintenance Checklist

    Ask a room full of electricians whether moisture in an electrical panel is dangerous and you’ll get a shrug and a story. The shrug is because a little condensation seems harmless.

    The story is because they’ve all seen what it does eventually: a panel that looked fine for years, then one bad morning, a ground fault, a flash, or a connection that burned slow and quiet until something stopped working. Moisture is the most underrated killer of electrical equipment, and it’s also the most preventable.

    This isn’t a scare piece. It’s a practical checklist, the kind a facility team actually works through, for finding moisture damage early, understanding what it means for safety, and fixing the conditions that cause it.

    If you’re responsible for panels, switchgear, or control cabinets, this is the stuff that keeps you out of the incident report.

    What moisture actually does to a panel

    Water doesn’t have to pour into a panel to damage it. The damage starts with condensation and works slowly. Every time moisture forms on a terminal, it starts oxidation. Corrosion adds resistance at the connection.

    Resistance generates heat under load, and heat accelerates corrosion. Over months, a connection that once carried current cleanly starts running hot, and a lug that was tight starts to feel loose, because corrosion is literally eating the metal.

    The anti-condensation heater from the fix list in this article.

    Then there’s the creepage problem. Dust and moisture together form a thin conductive film on the surfaces inside a panel. That film can create a leakage path between phases, or from a live part to ground, where no path should exist.

    Leakage current starts small, trips nothing, and just warms things up, until a surge or a fault turns that weak path into a real one. This is how you get nuisance trips, crackling sounds, and the occasional panel fire that nobody can fully explain afterward.

    For the safety people in the room: moisture is a recognized contributor to arc flash incidents. An arc flash is an explosive release of energy from a fault, and wet, corroded, or contaminated equipment is exactly the kind of environment where faults happen.

    The National Electrical Code and NFPA 70E both lean on this in different ways, requiring equipment to be suitable for its environment and workers to treat energized equipment with respect. The practical translation: a panel in a damp location is a higher-risk panel, and it deserves a place on your risk list, not just your repair list.

    Why insurance companies care

    Insurance claims adjusters have seen the same pattern enough times that they ask about it. Moisture damage to electrical equipment is a common thread in fire claims and in business-interruption claims, because a corroded panel doesn’t usually fail during business hours when someone can catch it. It fails at 3 a.m., taking down a production line or a whole building.

    And here’s the part that gets people’s attention: when a claim investigator finds corrosion that’s been building for years, with evidence nobody maintained the equipment, the conversation changes. Coverage questions, subrogation, denied claims, it all gets uglier when the record shows the damage was preventable.

    You don’t need to love insurance companies to use this as motivation. The same documentation that protects your claim also protects your budget, because “the inspector flagged corrosion in three panels” is a much easier sell than “the panel failed and we lost a week of production.”

    The inspection checklist

    You don’t need fancy tools for the first pass. You need a cool morning, a flashlight, and the discipline to open the panels when condensation is actually visible, which means before the sun burns it off. Here’s the routine:

    • Look for the beading: Open the panel early in the day and check the back, sides, and top of the enclosure, the coolest surfaces, for water droplets. If you find them, note the location and the date, because the pattern tells you whether it’s a recurring condensation issue or a one-time event.
    • Check for the haze and the crust: Corrosion often starts as a dull haze on copper or a faint rust on steel, then progresses to green crust on copper and brown scale on steel. Pay special attention to lugs, bus bars, breaker terminals, and the ground bar, the places current actually flows.
    • Smell it: A faint burning or “hot electrical” smell, or the acrid smell of something that’s been running warm, is a red flag even when nothing looks wrong. It usually means a connection is overheating, and moisture-driven corrosion is a common reason.
    • Feel for warmth: With the panel under load, a thermal scan or just a careful hand test on the cover can catch a hot connection. If you have an IR camera, this is one of its best uses, but scan on a day when the panel is actually loaded.
    • Watch the breaker behavior: Breakers that trip for no clear reason, or that feel loose when you switch them, are telling you something. Corrosion inside a breaker can make it sluggish, which is a serious problem, because a breaker that doesn’t trip when it should is a fire waiting for a spot.
    • Test when it makes sense: For larger gear, insulation-resistance testing with a megohmmeter catches degraded insulation that visual inspection misses. If your readings are low or erratic and they improve on dry days, you’ve got a moisture problem with a name on it.

    A compact DIN-rail heater that keeps panel internals above the dew point in unconditioned spaces.

    The fix list, in order

    When you find moisture damage, resist the urge to clean it up and move on. Cleaning the crust off a terminal without fixing why it corroded just resets the clock. Work the list in this order:

    1. Stop the water from getting in: Check the obvious entry points first: conduit entries, cable glands, gaskets, rain hoods, and drains. Seal anything that’s letting water or humid air in. If water is actively entering, nothing else on this list matters until that’s fixed.
    2. Fix the environment, then the panel: A cabinet fighting a chronically damp space, like a leaky substation building or an unventilated electrical room, is working against the site. If the whole space is the problem, that’s an area-level project with its own solution. At the cabinet itself, the protection is enclosure climate control: controlled heat to keep the internals above the dew point, or a compact dehumidifier on genuinely wet sites.
    3. Control the panel climate: For panels in unconditioned spaces, add a thermostatically or humidity-controlled enclosure heater to keep the internals above the dew point. For genuinely wet sites, a compact enclosure dehumidifier that actively removes moisture is the upgrade. Both are standard hardware, sized to the cabinet, and cheap compared to the equipment they protect.
    4. Clean up what’s already damaged: Once the moisture source is handled, clean the corrosion off accessible terminals, re-torque connections to spec, and replace anything that’s pitted or degraded. If corrosion has gotten inside breakers or onto bus bars, call in a professional and be ready to replace the affected gear. Some damage doesn’t clean up.
    5. Document everything: Photograph the corrosion, note the date, and record what you fixed. That record is your maintenance trail, your insurance protection, and your justification for the next budget cycle, all in one.

    Teamed with a thermostat or humidity controller, it keeps the cabinet dry without running constantly.

    Building it into the schedule

    The panels that fail are almost never the ones on a maintenance schedule; they’re the forgotten ones. So put this on the calendar, not just in the toolbox.

    Seasonal checks work well in most climates, because condensation clusters in spring and fall, and an annual check on the coolest morning of the season catches the pattern that a noon-time walkthrough never sees.

    Tie the panel check into whatever inspection program you already run, whether that’s NFPA 70E arc-flash work, a preventive maintenance program, or the insurance inspector’s annual visit.

    Here’s the honest summary: moisture in electrical panel systems is dangerous in the way most electrical problems are dangerous, slowly, quietly, and only if you ignore it.

    It corrodes connections, creates leakage paths, feeds arc flash risk, and shows up years later as an equipment failure or a claim. But it’s also one of the most fixable problems in the building.

    Find the water, stop it at the source, keep the panel above the dew point, and put the inspection on a schedule. Do that and the panel you’re responsible for will be the one that never makes it into the incident report.

  • Condensation in Switchgear: Why MV and LV Cabinets Fail and How to Stop It

    Condensation in Switchgear: Why MV and LV Cabinets Fail and How to Stop It

    Ask anyone who commissions medium-voltage switchgear in the spring and they can describe the scene: you open a feeder compartment after a cool, humid night and there’s water beaded on the backplate, a chalky tracking mark creeping along an insulator, or a dull haze of corrosion on a busbar joint. The cabinet is sealed. It never leaked.

    And yet, year after year, condensation in switchgear is one of the most common reasons utilities find tracking damage, corroded contacts, and relay operations nobody can explain.

    Condensation in a switchgear cubicle is a different problem from a little moisture in an ordinary control box. The voltages are higher, the insulation margins are tighter, and the failure mode isn’t a nuisance trip, it’s a flashover.

    Here’s why it happens inside switchgear and what the industry is doing about it, which is increasingly a smart dehumidifier designed for the cabinet, not just a heater.

    What condensation actually does to switchgear

    Start with the reason switchgear tolerates high voltage at all: clean, dry insulation. Air is a fine insulator until moisture and contamination get involved. When condensation forms on an insulator or a bushing surface, it leaves a damp film.

    Dust and salts in that film create a conductive path, and leakage current starts creeping across the surface. The current dries the path in streaks, which is where the fine chalky tracking marks come from, and each discharge etches the surface a little more.

    Left unchecked, tracking erodes the insulation until the creepage path shortens enough to flash over. That’s a fault that takes a feeder out, stresses protection, and can damage the breaker that clears it.

    The smart switchgear dehumidifier at the center of this article a thermoelectric unit that pulls moisture out of the air inside MV and LV cabinets.

    The lower-voltage side has its own version of the damage. Condensation on busbar joints and bolted connections starts corrosion, corrosion adds resistance, and resistance turns into heat under load. Contact surfaces that were silver-plated and tight develop hot spots.

    Relay and breaker compartments collect the same moisture, and corrosion inside a mechanism or on a control board makes gear behave erratically right when you need it to behave predictably.

    None of this happens overnight. It’s a slow process that builds over seasons, which is exactly why it’s dangerous: the cabinet looks fine in a daytime walkthrough, because the condensation burned off hours ago.

    Why switchgear cabinets condense

    Switchgear cubicles are sealed metal boxes, and like every sealed enclosure, they breathe. Air expands out through gaskets and cable entries as the cabinet warms during the day, then contracts at night and pulls humid air back in. The temperature swing does the rest: when internal surfaces cool below the dew point, water condenses on them.

    Several things make switchgear especially prone to this. A lot of it lives where the humidity is worst to begin with: outdoor ring main units, pad-mounted gear, underground vaults, and unheated substation buildings. Loaded feeders generate heat and keep themselves dry, but lightly loaded or seasonal feeders cool right down at night, which is when condensation forms.

    Spring and fall are the classic seasons, because warm days and cool nights swing the temperature through the dew point twice a day. Coastal sites add salt to the moisture, which makes the tracking and corrosion damage worse and faster.

    The traditional fixes, and where they fall short

    Every utility has its own version of the old answers, and they all have the same limitation: they manage the symptom without removing the moisture.

    Better sealing. Tighter gaskets help keep rain and dust out, but they don’t stop the cabinet from breathing, and a more airtight box actually traps the moisture that’s already inside.

    Space heaters. A heater raises the internal temperature above the dew point, so water can’t form, and it’s still the right tool for cold climates. But the water vapor stays in the air, and in a confined MV compartment a heater that runs hard can stress insulation and waste energy. Heaters also do nothing once the power is off, which is exactly when condensation forms on an idle feeder.

    The same DIN-rail dehumidifier, shown for retrofit mounting inside a feeder or cable compartment.

    Ventilation. Cutting vents or leaving a door cracked pulls in more humid air and more dust, which is the last thing a switchgear compartment needs.

    Desiccant bags. They absorb moisture until they saturate, then quietly stop, and somebody has to remember to check them. In a compartment you’re supposed to open once a year, that’s not a plan.

    The shift in the industry has been toward actively removing the moisture. A thermoelectric, or Peltier, dehumidifier mounted inside the cubicle condenses water out of the air on a cold element and drains or evaporates it, holding the compartment at a set humidity instead of just warming the air above the dew point.

    It works around the clock, needs no refills, and runs only when the humidity actually climbs. That’s why switchgear dehumidifiers have become standard spec on outdoor and coastal projects rather than an afterthought.

    What to look for when you spec one

    If you’re adding dehumidification to switchgear, whether you’re a utility retrofitting existing cubicles or an OEM designing it into new gear, a few details decide whether it works or becomes another maintenance item.

    Supply voltage. Match the unit to the compartment. Most U.S. sites run 120 V AC; many imported and industrial cabinets run 220 to 240 V AC, and DC-fed sites need a unit that runs on the site’s DC bus. Confirm the voltage range before you order, because the wrong voltage means either no dehumidification or a burned-out unit.

    Set point and control. The whole point of a smart unit is that it doesn’t run constantly. Look for an adjustable humidity set point, typically 45 to 60 percent relative humidity, and a sensor that reads the compartment air rather than the air right beside the unit. Below about 60 percent RH, corrosion and tracking slow to a crawl, so you don’t need to chase bone-dry conditions.

    Drainage and maintenance. Units either collect water in a small tank, drain through a hose, or evaporate the condensate. For switchgear, hose-drain or evaporative designs beat a tank you have to empty, because nobody wants to open a live MV compartment to empty a tray. Check that the drain path can’t drip onto insulation or live parts.

    Mounting and clearance. DIN-rail mounting is the standard, and the unit needs to sit where it doesn’t block airflow, crowd other components, or reduce creepage distances in the compartment. Manufacturers publish mounting clearances; respect them, especially in medium-voltage sections.

    Certification and documentation. For utility and inspected work, ask for the actual test reports and listings up front. A lot of capable dehumidifiers are built overseas to CE and RoHS, which is fine for many industrial jobs, but U.S. utility specs often require recognized listings, so confirm before you commit.

    A humidity set point on the unit means it cycles on and off instead of running around the clock.

    Cold-climate pairing. In regions where cabinets also freeze, a dehumidifier isn’t a substitute for heat. The clean solution is both: a thermostatically controlled heater to keep the compartment above freezing and above the dew point in winter, and a dehumidifier to hold the humidity down the rest of the year. Spec them together and each one runs less.

    Where to put it

    Condensation isn’t uniform inside a switchgear assembly. The cable compartment at the bottom is usually the wettest, because it’s closest to the vault or the ground and sees the most outside air; the busbar compartment up top runs hotter and stays drier.

    If you’re retrofitting one unit, start in the cable or breaker compartment where the moisture lives, and add units per section on the worst sites rather than trying to dry a whole lineup with one small dehumidifier.

    A maintenance note

    Once the hardware is in, the discipline is checking it on the right schedule. Read the humidity display on a cool morning, not at noon, confirm the drain is clear, and keep the sensor clean. Log the readings through a season so you can see whether the unit is actually holding the compartment where you set it.

    And when you find tracking marks or corrosion, treat them as evidence of an ongoing moisture problem, not a one-time event, because the condensation that caused them will be back next spring.

    The short version

    Condensation in switchgear is a physics problem with a known answer. Seal the obvious openings, keep the compartment above the dew point with controlled heat where winters demand it, and remove the moisture with a thermostatically controlled, humidity-sensing dehumidifier designed for the cubicle.

    Do that and the tracking stays off the insulators, the joints stay cool, and the relay that’s supposed to protect the feeder is still the one that trips, not the one that fails when you need it. On gear that’s expected to run for decades, a small DIN-rail dehumidifier is the cheapest insurance a switchgear lineup will ever have.

  • Enclosure Climate Control for Coastal, Cold, and High-Altitude Sites: A Field Guide

    Enclosure Climate Control for Coastal, Cold, and High-Altitude Sites: A Field Guide

    Most electrical cabinets are installed and forgotten, and for most of them, that works out fine.

    But there’s a whole category of sites where “install and forget” is a slow-motion disaster: the coast, where salt air eats terminals; the mountains, where winter nights freeze a cabinet solid; the high desert, where the air is so thin and dry that static becomes a problem.

    Different sites, different failure modes, and yet they all come back to the same question: what’s the air doing inside the enclosure?

    If you maintain gear at any of these locations, you already know the drill. You replace the same corroded controller every eighteen months. You find water in boxes that have never leaked.

    You get failures that cluster in one season and vanish in another. This guide is about building an enclosure climate control plan that matches the site, instead of hoping the box is tough enough.

    Start with the dew point, always

    Every climate problem in an enclosure traces back to the same physics, so it’s worth stating once: moisture condenses when a surface is cooler than the dew point of the air around it.

    Everything else, salt, cold, altitude, just changes how often and how badly that happens. That’s why the first step at any harsh site is figuring out the worst dew-point scenario of the year, not the average one.

    The enclosure heater used in this article for cold and high-altitude sites.

    For a coastal site, the worst case is a warm, humid spell in late summer when the air is saturated and the cabinet, shaded and cool, condenses every night. For a cold site, it’s the spring freeze-thaw weeks when the temperature swings through the dew point twice a day.

    For a high-altitude site, it’s the shoulder seasons, when warm days and freezing nights create the biggest temperature swings of all. Identify that window, design for it, and the rest of the year mostly takes care of itself.

    Coastal sites: the enemy is salt, and it rides the moisture

    Salt air doesn’t attack electrical gear directly. It attacks through water. Salt crystals are hygroscopic, meaning they pull moisture out of the air, and once a salt film on a terminal gets wet, you have a conductive, corrosive electrolyte sitting on live metal.

    That’s why coastal cabinets fail faster than inland ones even when the relative humidity is identical.

    The coastal playbook starts with keeping salt out in the first place. A sealed cabinet with a heat exchanger or closed-loop cooling beats a filter fan that pulls ocean air through the electronics, because every breath of that air deposits salt.

    If the cabinet must ventilate, use filters and change them on a schedule tied to the site, not to the calendar. Inside the cabinet, the priorities are keeping humidity low enough that salt never dissolves, which means holding relative humidity under about 60 percent, and keeping surfaces above the dew point at night.

    A humidity-controlled heater or a compact dehumidifier does both, and stainless or coated hardware for the most exposed parts slows the damage while the environment gets fixed.

    One coastal detail that surprises people: the worst cabinets are often the ones closest to the water but sheltered from rain, because they get the salt-laden air without the washing effect of a good rainstorm. If you’re surveying a site, pay attention to the boxes that never get rained on.

    Cold sites: freeze, thaw, and the dew point twice a day

    Cold climates have two separate problems. The obvious one is freezing, where moisture inside a cabinet freezes, expands, and damages components and seals.

    The less obvious one is the freeze-thaw cycle, because as the temperature climbs back through the dew point in the morning, every cold surface in the cabinet condenses moisture that then refreezes the next night. Cabinets in cold sites don’t corrode slowly; they get hammered in a few weeks of spring weather.

    The cold-site answer is controlled heat, and it needs to be on before the problem starts. A low-wattage enclosure heater with a thermostat keeps the interior above freezing, and if it’s switched by a humidity controller instead, it also fires on the muggy spring days when the cabinet is above freezing but sweating anyway.

    Size the heater for the coldest night of the year with the equipment idle, because a cabinet full of gear that’s turned off at night is colder than one that’s running, and that’s exactly when condensation hits.

    A DIN-rail heater that keeps cabinet surfaces above the dew point through freezing nights.

    Two cold-site details worth respecting. First, heaters need to be mounted where they can’t cook cables or melt plastic; clearance rules exist for a reason.

    Second, battery and electronics cabinets in cold climates have a special problem, because many batteries won’t charge below freezing and some electronics hate cold starts.

    The heater isn’t just condensation protection in those cabinets; it’s part of keeping the system functional in January.

    High-altitude and desert sites: the opposite problem

    High-altitude and desert sites flip the script. The air is dry, so condensation is less of a daily threat, but the temperature swings are brutal, often 40 degrees or more between day and night, and the air is thin.

    Thin air carries less heat, which means equipment runs hotter, and cooling fans have to work harder to move the same amount of heat. Add intense solar radiation during the day and radiative cooling at night, and you get thermal stress on everything from solder joints to seals.

    The high-altitude priorities are ventilation and shade more than humidity. Make sure the cabinet has enough airflow for the thinner air, keep direct sun off the box with a shield or a roof, and let the equipment’s own heat keep the interior stable at night.

    Static is also a real issue in very dry air, since low humidity lets static charge build up on surfaces and discharge into sensitive electronics. In those environments, holding humidity in a moderate band, not too wet, not bone dry, is the actual goal, which is a different target than a coastal cabinet.

    The maintenance plan that ties it together

    Whatever the site, the gear that survives is the gear that gets checked on a schedule that matches the seasons. A few habits pay for themselves:

    • Open the cabinet on a cool morning at least once a season and look for beading and early corrosion. By noon, the evidence is gone.
    • Check that heaters, controllers, and dehumidifiers actually cycle. A dead hygrostat is invisible until the cabinet corrodes.
    • Change ventilation filters on a site-based schedule, more often in salt or dust.
    • Keep a log of when failures happen. If they cluster in one season, that’s your condensation signature, and it tells you what to fix.
    • After any work, seal the cabinet back up properly and re-check the breather and drain provisions.

    Sized to the cabinet and controlled by a thermostat, it runs only when the site demands it.

    Matching the hardware to the site

    The good news is that none of this requires exotic equipment. The standard toolkit is the same four devices in different combinations: a low-wattage heater for cold and condensation, a thermostat or a temperature and humidity controller so it runs only when needed, a filter fan or heat exchanger for heat, and a compact thermoelectric dehumidifier for the genuinely wet sites.

    Manufacturers who build this equipment for a living, including companies like Zhenrui Electric in Wenzhou that specialize in enclosure climate gear for wind, solar, storage, and telecom, sell matched packages sized to cabinet volume and site conditions, and they’ll tell you honestly when a site just needs a heater and when it needs the full system.

    The bigger lesson is to design for the site’s worst season, not for the brochure photo. A cabinet that survives a coastal summer and a mountain winter is the same cabinet, plus a few hundred dollars of climate hardware and a maintenance schedule that respects the dew point.

    That’s the whole field guide in one sentence: know what the air is doing, keep the surfaces above the dew point, and check it more often than you think you need to. Do that, and the harshest site on your list becomes just another enclosure.

  • How to Size an Anti-Condensation Heater for a Control Panel

    How to Size an Anti-Condensation Heater for a Control Panel

    There’s a panel heater in just about every outdoor cabinet and unheated control room in the country, and most of them were sized by guesswork. Someone picked a wattage that “looked about right,” mounted it, and moved on. Sometimes it works.
    Sometimes the cabinet still sweats in the spring, and sometimes the heater is so oversized it bakes the VFD next to it.

    An anti-condensation heater is a small, boring device with a big job: keep the inside of the enclosure above the dew point so water never condenses on terminals and components. Sizing it isn’t hard. You just need to work through a few factors instead of grabbing a number off a shelf.

    What the heater is actually doing

    Worth saying once clearly: a cabinet heater doesn’t dry the air. It warms the air so the dew point stays below the coldest surface in the box. No surface reaches the dew point, no condensation, no corrosion.

    That’s why these heaters are usually paired with a thermostat or a humidity controller, so they only run when the temperature drops or humidity climbs, rather than heating a panel that’s fine all summer.

    a low-wattage unit that keeps cabinet internals above the dew point.

    The wattage you need depends on one thing: how fast the cabinet loses heat to the outside at the worst moment of the year. Size for that moment and the rest of the year takes care of itself.

    The simple math

    The standard approach treats the enclosure like a box that leaks heat through its surface. The basic formula looks like this:

    Heat needed (watts) = surface area × heat loss factor × temperature difference

    Surface area is the total external area of the cabinet in square meters, counting all six sides. A 24 × 24 × 12 inch wall-mount box works out to roughly 0.56 square meters of surface; a floor-standing 72 × 24 × 24 inch cabinet is closer to 2.3 square meters. Get out a tape measure and add up all six faces, not just the front.

    Heat loss factor accounts for the material. Painted sheet steel loses heat at a bit more than 5 watts per square meter per degree Celsius of difference, so a value around 5.5 W/m²·°C is a common starting point.

    Stainless steel runs slightly higher, insulated or double-wall enclosures run lower, and a plastic enclosure loses less than steel. If you’re working in imperial units, the same idea applies with different numbers; just keep all your units consistent.

    Temperature difference is the gap between the coldest temperature you expect at the site and the temperature you want to hold inside the cabinet. And here’s the key: you’re not heating the cabinet to room temperature.

    You only need the inside a few degrees above the dew point, so on a cold night you might target maybe 40 °F inside, not 70 °F. That modest target is why a surprisingly small heater handles a surprisingly big cabinet.

    Run the numbers on that 24-inch wall-mount box in a climate where it can drop to 0 °F outside while you’re holding roughly 40 °F inside, and the math lands you in the neighborhood of 100 watts. The same box in a mild coastal area where it rarely freezes might only need 50.

    A floor-standing cabinet with more surface area, or a site that gets truly cold, climbs from there into the 200 to 400 watt range. These are ballpark figures, but they’ll keep you honest, which is more than the guesswork method does.

    A DIN-rail heater mounted low in the enclosure so convection distributes the heat.

    The factors the formula misses

    The formula gets you in the ballpark. Then real life adds a few wrinkles, all of which push you toward sizing up rather than down:

    • Wind: A cabinet mounted on an exposed pole or a windy rooftop sheds heat much faster than the still-air math suggests. A windbreak or a more sheltered mounting spot helps; if you can’t move it, add margin to the heater.
    • Sun load: A black cabinet in full sun actually needs less heat in the daytime, but it also swings harder at night when the sun goes down, which is exactly when condensation forms. Don’t size for the sunny afternoon; size for the 4 a.m. low.
    • What’s inside: Big contactors, transformers, and VFDs dump heat into the cabinet while they run, which helps you at night in an odd way, because the equipment keeps the box warm. But if the process shuts down at night, or the gear sits idle for weeks, you can’t count on that heat. Size as if the cabinet is empty at night, because during an outage it is.
    • Mounting and placement: Where the heater sits matters as much as its wattage. Mount it low in the cabinet so it warms the whole air column by convection, keep it clear of plastic wiring trays and cable bundles that can’t take the heat, and give it enough clearance that nothing touches the element. Manufacturers publish minimum clearances for a reason. A 150-watt heater crammed against a bundle of PVC-jacketed cables can soften the insulation over a few seasons even though the wattage is “correct.”
    • The controls: A heater without a thermostat or humidity controller isn’t sized so much as it’s on all the time. That wastes power and, on a warm day, pushes the cabinet temperature up pointlessly, which ages electrolytic capacitors and stresses seals. The standard setup is a heater controlled by a thermostat set to switch on around 40 to 50 °F, or a hygrostat that fires the heater when internal humidity climbs past roughly 60 to 70 percent. Humidity-based control is usually the smarter choice for condensation, because it catches the muggy spring days when it’s 60 degrees out but the cabinet is sweating anyway.

    Common mistakes to avoid

    • Oversizing “for safety”: A heater twice the size it needs to be doesn’t protect twice as well. It creates hot spots, cooks nearby components, and shortens the life of everything in the box. Control it properly and even a correctly sized heater barely runs.
    • Forgetting the voltage: panels run 120 V or 240 V; a lot of imported heaters are built for 230 V. Check the nameplate and order the right voltage, because a 230 V heater on 120 V puts out a fraction of its rated heat, and a 120 V heater on 240 V can burn up fast.
    • Ignoring certification: If the cabinet feeds an inspected installation, the heater needs to be listed for the application. Ask for UL or the equivalent documentation up front, and treat “CE and RoHS” as a conversation starter, not the final answer.
    • Skipping the drain:  A heater stops condensation from forming, but if water already gets in through a bad gland or a missing rain hood, no wattage saves you. Fix the water entry first, then size the heater.

    Small enclosure heaters like this one are rated in watts, so the size has to match the cabinet and the site.

    A quick way to check your work

    If you’ve already got a heater installed and you’re not sure it’s right, do the practical test. On the coldest morning of the season, open the cabinet before sunrise. The interior should feel noticeably warmer than the outside air, and there should be no beading on the metal.

    If it’s cold inside or water is forming, bump up a size, and if the cabinet is hot to the touch on a normal day, step down or add a thermostat. Your hands and a little dew-point sense will tell you more than any spreadsheet.

    Sizing an anti-condensation heater is a ten-minute calculation that saves years of nuisance calls, corrosion damage, and premature drive failures.

    Do the surface-area math, add margin for the site, control it with a thermostat or hygrostat, and you’ll have a cabinet that stays dry through every season, which is exactly what a heater is supposed to do.

  • Condensation Is Quietly Killing Outdoor EV Chargers and Battery Cabinets

    Condensation Is Quietly Killing Outdoor EV Chargers and Battery Cabinets

    The electric vehicle charging industry has spent years arguing about connectors, payment systems, and uptime targets, and rightly so. But there’s a quieter problem eating chargers from the inside, and it doesn’t show up in the marketing materials.

    Open up an outdoor DC fast charger that’s been “intermittently faulting” for a month and you’ll often find the same thing: corrosion on a terminal, moisture staining on a power module, or a circuit board with that telltale white residue.

    Condensation did it, and condensation is going to keep doing it until operators treat cabinet climate as a design problem instead of an afterthought.

    The same story is playing out in battery energy storage. Outdoor BESS cabinets, the ones housing lithium racks, power conversion gear, and control electronics, spend their lives in parking lots, substations, and solar sites.

    They’re weatherproof, but weatherproof doesn’t mean dry on the inside. Every one of them is a sealed box full of expensive metal, sitting in the weather, breathing.

    Why outdoor charging and storage gear sweats

    The cabinet dehumidifier discussed in this article for outdoor charging and battery storage cabinets.

    The mechanism is identical to what happens in any outdoor enclosure, but the stakes are higher because the equipment is bigger, hotter, and more sensitive.

    Here’s the daily cycle. The cabinet heats up during the day, from the sun and from the power electronics running inside it. The air expands and pushes out past the gaskets and cable entries. At night the cabinet cools off, the air contracts, and the cabinet inhales outside air to make up the difference.

    If that outside air is humid, and it usually is at night, the moisture is now inside. When the internal metal, the heat sinks, the bus bars, or the module housings cool below the dew point, water condenses on them.

    By early morning, you have droplets of water inside a box full of high-voltage electronics, and by the time a technician arrives at 10 a.m., it’s mostly evaporated, leaving only the corrosion behind.

    A few things make chargers especially prone to this. DC fast chargers pull enormous current, and the power modules inside run hot, so the cabinets are built to shed heat, often with fans and vents that actively pull in outside air.

    That’s fine for cooling and terrible for humidity control, because every cubic foot of air the cooling system pulls in carries its moisture with it.

    Then there’s the duty cycle: many charging sites sit idle overnight, so the cabinet cools to ambient exactly when the air is most humid, and there’s no internal heat load to keep the surfaces above the dew point.

    Battery cabinets have their own twist, since battery systems can be dispatched at night, but even idle racks breathe through their enclosures.

    What the damage actually looks like

    Condensation damage in charging and storage equipment rarely looks dramatic, which is why it goes unnoticed. Look for these signatures:

    • Corrosion on DC bus bars, power module terminals, and connector lugs, often starting as a haze that turns into crust.
    • White or green deposits on circuit boards, the residue left when water evaporates and minerals stay behind.
    • Intermittent faults that cluster around weather changes: alarms in the spring and fall, or after a stretch of warm days followed by cool nights.
    • Connector and contact resistance that creeps up over time, because corrosion adds resistance and resistance adds heat, which accelerates more corrosion.
    • Insulation and creepage problems on high-voltage sections, where moisture plus dust creates a conductive path that shouldn’t exist.


    A DIN-rail unit sized for power cabinets that hold sensitive charging and storage electronics.

    In a DC fast charger, that corrosion lives right next to 800- or 1000-volt DC bus work. In a battery cabinet, it’s near terminals that can deliver thousands of amps in a fault.

    The failures tend to be ugly when they finally happen: a blown power module, a ground fault, a contactor that welds shut. And because the moisture dries up during the day, the root cause is invisible by the time anyone looks.

    EV charger condensation: what operators can actually do

    Treat the cabinet as a climate system. The first step is changing how you spec the hardware. If you’re buying chargers or BESS cabinets for a humid, coastal, or high-swing climate, ask the manufacturer what the enclosure does about internal condensation, not just what IP rating it carries.

    A rating tells you water and dust stay out; it says nothing about the water that forms on the inside. Look for cabinets with breather vents that equalize pressure without letting moisture in, or with provisions for climate-control hardware.

    Retrofit heat where the mornings are cold and wet. For gear already in the field, a thermostatically or humidity-controlled enclosure heater is the single most effective retrofit. Keep the internal surfaces a few degrees above the dew point and condensation stops forming, full stop.

    On a site that’s cold at night, a small heater sized to the cabinet, cycling on a controller, uses little power and can be fed from the site’s auxiliary supply. This is standard practice in telecom, and there’s no reason charging and storage cabinets should be any different.

    Use active dehumidification on the worst sites. Where heaters alone aren’t enough, usually because the air is so humid that you’d have to run the heat constantly, a thermoelectric cabinet dehumidifier is the next step.

    It pulls water out of the air and holds the cabinet at a set humidity level, rather than just warming the air. Coastal charging hubs, underground parking decks, and humid substation environments are the classic candidates. These units are compact, DIN-mountable, and built to run unattended for years.

    Active moisture removal stops the morning condensation that corrodes terminals and boards.

    Reconsider the cooling strategy. If the cabinet cools with fan-forced outside air, that’s a humidity pump on muggy nights. On sites with serious humidity, look for designs that separate cooling from ventilation: heat exchangers, closed-loop cooling, or cooling that runs only when it needs to, so the cabinet isn’t inhaling humid air all night.

    If you can’t change the hardware, at least make sure fans aren’t running when they don’t need to, and that any vents close or slow down during idle overnight periods.

    Build it into the maintenance program. Add a condensation check to your routine service: open the cabinet on a cool morning and look for beading and early corrosion, check breather vents and filters, verify heaters and controllers are actually cycling, and watch the fault log for the weather signature.

    Most operators already have the trucks and the schedules; they just don’t have “open the cabinet at dawn” on the checklist. That one change catches more incipient failures than any diagnostic software.

    The honest business case

    Here’s the calculation that matters to a network operator. A single DC fast charger can be down for days waiting on a power module, costing revenue and upsetting drivers who have come to expect chargers that just work.

    A BESS cabinet with a corrosion-related fault can take a whole energy storage asset offline. The climate-control hardware that prevents all of it, a heater, a controller, a dehumidifier, is a few hundred dollars and a couple hours of labor per cabinet. That’s not an expense; it’s the cheapest reliability upgrade in the industry.

    Condensation in outdoor EV chargers and battery cabinets isn’t exotic, and it isn’t going away, because the equipment will keep living outside where the air is humid.

    But it’s entirely manageable once you stop treating the cabinet as a passive box and start treating it as part of the system. Keep the air dry, keep the surfaces above the dew point, and the morning dew stops being a fault and goes back to being just weather.

  • Electrical Enclosure Dehumidifiers: How They Work and How to Choose One

    Electrical Enclosure Dehumidifiers: How They Work and How to Choose One

    Somewhere between “throw a few silica gel packets in there” and “bring in the building’s HVAC engineer” there’s a whole category of equipment most people have never heard of: the enclosure dehumidifier.

    It’s a compact unit that mounts inside a control cabinet, switchgear, or any sealed electrical box, and it quietly does one job, pulling water vapor out of the air before it can condense on your terminals, breakers, and boards.

    If your cabinets keep corroding despite new gaskets, or you’re tired of replacing silica gel every month, this guide is for you. Here’s how these units actually work, where they fit, and how to pick the right one without overbuying.

    Three ways to “dehumidify” a cabinet

    A DIN-rail electrical enclosure dehumidifier of the type covered in this buying guide.

    Before you compare products, it helps to know that the market really contains three different approaches, and only two of them actually remove water from the air.

    • Heaters: The most common approach in U.S. panels is an enclosure heater with a thermostat or hygrostat. A heater doesn’t remove moisture; it raises the temperature inside the cabinet so the dew point stays out of reach and water never condenses. It’s simple, proven, and often the right answer. The catch is that the water vapor is still in the air, so the protection disappears the moment the power goes off, and on a cold site a heater can run a lot.
    • Desiccants: Silica gel and other moisture-absorbing products genuinely pull water out of the air. The problem is capacity. A small packet saturates fast in a humid cabinet, and once it’s full it stops working, or worse, slowly releases the moisture back. Desiccant bags can carry a small, rarely opened junction box in a dry building for a while. For an electrical enclosure that lives outside or in a humid plant, they’re a maintenance trap. Somebody has to check them constantly, and most facilities don’t.
    • Thermoelectric dehumidifiers: This is the “smart” option, and it’s what most people mean when they talk about an electrical enclosure dehumidifier today. Inside the unit, a semiconductor module gets cold on one side and warm on the other, like a mini Peltier cooler. A tiny fan draws cabinet air across the cold side, moisture condenses into droplets, and the unit drains or evaporates the collected water while a humidity sensor cycles it on and off to hold a set point. The unit actually removes water from the air, works around the clock, and needs no refills. Think of it as a small, sealed refrigerator for the cabinet, except the cooling is just there to squeeze the water out.

    Where an enclosure dehumidifier earns its keep

    A thermoelectric unit shines in the situations where heaters and desiccants are weakest:

    • Outdoor and unheated cabinets: where the power can be off for stretches and a heater’s “keep it above dew point” trick fails. The dehumidifier keeps the air dry even when it’s cold inside.
    • Sealed boxes that can’t be vented: like NEMA 4X or IP66 enclosures in dusty or corrosive environments where you don’t want to pull outside air through.

    The same compact dehumidifier, designed to mount alongside the other gear in a control cabinet.

    • Cabinets with sensitive electronics: where you’d rather hold steady, low humidity than cycle the temperature up and down. Every thermal cycle stresses components, and a heater that runs hard adds heat you then have to deal with.
    • Coastal and high-humidity sites: where the air is simply saturated for months at a time and desiccants give up in days.

    The honest caveat: thermoelectric dehumidifiers move less water per hour than a big compressor unit, so they’re sized for sealed enclosures, not for open spaces with constant air exchange. Match the tool to the job and they’re extremely effective.

    What to look for when you’re comparing units

    Once you’ve decided an enclosure dehumidifier is the right approach, the spec sheet actually matters. Here’s what to check, in order.

    • Power and voltage: U.S. installs usually want 120 V AC, sometimes 240 V, and increasingly 24 V DC for solar or telecom sites where everything runs off batteries or a panel. Figure out what’s available at the cabinet before you shop, and confirm the unit’s rated voltage range covers it. A 230 V-only import is a non-starter for most American panels.
    • Drainage: Units either collect water in a small tank you empty, drain through a hose to the outside of the cabinet, or evaporate the condensate back out as vapor using the warm side of the module. For a cabinet nobody visits often, hose-drain or evaporative designs beat a tank you have to remember to empty. Tanks that overflow inside a live panel are how small problems become big ones.
    • Humidity control and set point: The whole point of a “smart” unit is that it doesn’t run constantly. Look for an adjustable humidity set point, typically 40 to 70 percent relative humidity, and a sensor that’s actually measuring the cabinet air, not just the air right next to the unit. A unit that cycles based on real humidity will use a fraction of the power of one that runs flat-out.

    Thermoelectric dehumidifiers like this one hold a set humidity level and need no refills.

    • Mounting and size: DIN-rail mounting is the standard for panels, because you can clip it next to the other gear without drilling holes. Also check the physical footprint, the clearance it needs, and how much space the air intake and outlet require. A unit that’s too big for the cabinet can block airflow to the very components you’re trying to protect.
    • Build and safety: Look for a flame-retardant housing, short-circuit and overheat protection, and sensible ratings for the environment. If the cabinet is in a washdown area or outdoors, the unit’s own ingress rating matters too. And for anything going into a U.S. installation that’s inspected, ask for the actual certification documentation up front. Many quality manufacturers build to CE and RoHS, but U.S. projects often require UL or ETL listed gear, so confirm before you commit rather than after.

    A sizing sanity check

    Enclosure dehumidifiers are rated by how much water they can remove per day, and for sealed cabinets that number doesn’t need to be huge.

    A unit rated for a few ounces per day is typically aimed at a mid-size control cabinet; larger switchgear or a cabinet that gets opened often needs more capacity or multiple units.

    If you’re not sure, work from the cabinet’s internal volume and how humid the site gets, and when in doubt ask the manufacturer for a recommendation.

    Any decent maker, whether it’s a U.S. distributor brand or a factory like Wenzhou Zhenrui Electric that builds these DIN-rail units in volume, will size it with you instead of just selling you the biggest one in the catalog.

    The honest bottom line

    If your cabinets are corroding, your first move should still be the cheap ones: seal the penetrations, fix the humidity in the room, and make sure the enclosure is actually suited to the site. But when the environment is genuinely hostile, an electrical enclosure dehumidifier is the equipment answer.

    A thermoelectric unit removes water instead of dancing around it, runs unattended for years, and costs a fraction of the boards and breakers it protects. That’s the math that matters, and it’s why these little boxes are showing up in more and more U.S. panels every year.

  • Water Inside Your Solar Combiner Box? Why It Happens and How to Fix It

    Water Inside Your Solar Combiner Box? Why It Happens and How to Fix It

    Every solar installer has been there. You open a DC combiner box at a utility-scale plant or a commercial rooftop array, and there’s water beading on the inside of the lid. The box is new. The gaskets look fine. The conduit entries are sealed.

    And yet here’s moisture, sitting right next to live DC circuits carrying hundreds of volts. It’s one of the most common, most preventable causes of premature PV equipment failure, and it’s almost never a leak.

    Moisture inside solar equipment doesn’t announce itself with a puddle. It shows up as a blown fuse you can’t explain, a ground-fault alarm that comes and goes, a string that underperforms, or an inverter that trips at dawn for no obvious reason.

    If you do solar service work, learning to spot and fix condensation in solar combiner boxes will save you more return trips than almost any other skill.

    Why solar boxes sweat more than other enclosures

    The small thermoelectric dehumidifier recommended in this article for PV combiner boxes and string enclosures.

    Combiner boxes and inverters have a few things working against them. They sit outdoors, often on a roof, where they see the full daily temperature swing. They’re dark-colored, so they bake in the sun during the day and radiate heat fast on clear nights.

    And they’re full of metal: bus bars, fuse holders, terminals, and connectors that cool down quickly and become perfect condensation surfaces.

    Here’s the sequence that produces “water in the box.” During the day the enclosure heats up, and the air inside expands and escapes through the seals and conduit. At night the box cools, the air contracts, and the box sucks in outside air to equalize.

    That air is humid. When the internal metal cools below the dew point, usually in the hours just before sunrise, moisture condenses on the surfaces. The box never leaks a drop, and it can happen on a perfectly clear night with no rain at all.

    The worst mornings are the ones after a hot day followed by a cool, clear night, which is also why the problem peaks in spring and fall.

    Add one more solar-specific factor: night-time operation. Many modern inverters and monitoring systems run off the array at night to keep electronics alive, and some combiner boxes sit close to the panels where they cool faster than the rest of the system. Any component that’s cooler than the surrounding air is a magnet for condensation.

    What moisture does to PV equipment

    • Water and DC voltage are a nasty combination: Moisture on a bus bar or fuse holder starts corrosion, and corrosion adds resistance. In a DC circuit carrying tens of amps, that resistance turns into heat, which accelerates the corrosion further. Left long enough, connections fail, fuses blow, or terminals burn.
    • Even more common is the leakage-current story: Dust and moisture on the inside of a box create a conductive path from the DC circuit to the grounded enclosure. That’s a ground fault, and depending on the system, it can trip the inverter, set off an alarm, or just quietly leak current and drag down performance. Many O&M crews have chased an intermittent ground-fault alarm for weeks before opening the box and finding green corrosion on a fuse holder. The moisture that caused it had dried up days earlier; the damage was the clue.
    • Insulation resistance testing tells the same story: If you’re getting low or erratic insulation readings that improve on dry days, condensation is a prime suspect. The readings change with the weather because the moisture is changing with the weather, and that signature is how you know you’re chasing condensation rather than a damaged cable.

    The fixes that actually work

    A compact DIN-rail unit that fits inside a combiner box without crowding the terminals.

    Fix the real leaks first. Not every case is condensation. Rain can work its way in through a poorly sealed conduit entry, a cracked gland, a gasket that wasn’t seated, or a box mounted where water pools. Before you assume condensation, check for actual water entry, and reseal anything questionable. But if the box is sealed and still sweats, move to the environmental fixes.

    Let the box breathe, deliberately. A sealed box breathes anyway, through pressure changes, so the choice isn’t “sealed versus vented,” it’s “random uncontrolled breathing versus controlled.” A small breather vent with a moisture barrier lets pressure equalize without pulling in liquid water, and it helps in a lot of installations. Some combiner boxes also benefit from a low-point drain, so any water that does condense has somewhere to go instead of pooling on the bus bars.

    Add controlled heat. This is the standard fix for cold-climate and high-swing sites: a low-wattage anti-condensation heater, ideally controlled by a humidity sensor, mounted inside the box. You’re not trying to keep the box warm; you’re keeping the internal surfaces a few degrees above the dew point so water physically can’t form. A 10 to 30 watt heater with a thermostat or hygrostat, sized to the box, runs very little over a year and protects every connection in the box. On systems that power down at night, the heater is what keeps the morning dew off the fuse holders.

    Consider a compact dehumidifier for the worst sites. For coastal arrays, agricultural sites with heavy morning fog, or boxes that have already corroded once, a thermoelectric enclosure dehumidifier that actively pulls moisture out of the air is a step beyond a heater. It holds the internal humidity at a set level rather than just raising the dew point, and it keeps working even when the box is cold. It’s more equipment than a heater, but on a site that corrodes every box you install, it’s cheaper than replacing fuse holders twice a year.

    Coat the vulnerable parts. Dielectric grease on connections and an anti-corrosion coating on bare metal can slow the damage while the environmental fixes take hold. Some crews also use conformal coating on PCBs inside inverters and monitoring gear. None of these replace moisture control, but they buy you time and reduce the failure rate on hardware that’s already marginal.

    A practical inspection checklist

    Add this to your O&M rounds and you’ll catch the problem early, when it’s a service call instead of an equipment replacement:

    • Open combiner boxes and inverters on a cool morning, not at noon, and look for beading, rust, or green corrosion on bus bars and fuse holders.
    • Check that every conduit entry and gland is sealed, and that rain hoods and drip loops are doing their job.
    • Watch for the weather signature: if ground-fault or insulation alarms cluster in spring and fall mornings, suspect condensation.
    • Note which boxes sit in shade or on cold north exposures; they cool fastest and condense first.
    • After any repair, seal the box back up properly and consider adding a breather or a small heater if the site has a history of moisture.

    Humidity-controlled operation protects fuses, bus bars, and insulation from moisture damage.

    The bottom line for solar crews

    Condensation in solar combiner boxes isn’t bad luck and it’s not a bad product. It’s physics, and physics responds to engineering. Seal the obvious leaks, give the box controlled ventilation, and add a thermostat-controlled heater or a compact dehumidifier on sites that need it.

    That combination keeps the morning dew off live DC terminals, which keeps the fuses intact, the alarms quiet, and the strings producing. On a system you’re paid to keep running for 25 years, a $30 heater is the cheapest insurance policy you’ll ever install.

  • Why Outdoor Electrical Enclosures Sweat Even When They’re Sealed

    Why Outdoor Electrical Enclosures Sweat Even When They’re Sealed

    Here’s a conversation that happens in every facility sooner or later. Someone opens an outdoor control cabinet on a cool morning and finds water beaded on the inside of the door. The box is rated IP66, or NEMA 4X, or whatever the spec called for.

    The gaskets are intact. There are no visible gaps. And yet there’s water inside. The usual verdict is “bad enclosure,” and the usual fix is swapping in a pricier box with a higher rating. Neither conclusion is right.

    The truth is that a sealed enclosure doesn’t stop condensation. It just gives condensation a cleaner place to happen. Once you understand why, you stop blaming the box and start fixing the actual problem, which is the air trapped inside it.

    The sealed box is not as sealed as you think

    The thermoelectric enclosure dehumidifier discussed in this article, built for sealed outdoor cabinets.

    Every enclosure breathes. It has to. As the sun heats the box during the day, the air inside expands and pushes out through the gaskets, the cable glands, the conduit, and every microscopic seam you can’t see. At night the box cools off, the air contracts, and the enclosure sucks air back in.

    Rain and dust can’t get through those paths in any meaningful amount, which is why the IP rating holds up, but air moves through them constantly. Over a single day-night cycle, an outdoor enclosure effectively swaps its internal air with the outside air, even at IP66 and IP67.

    That means the air inside the cabinet on a humid night is the same humid air that’s outside. Now the second part of the story kicks in.

    Dew point, in plain English

    Air can only hold so much water vapor, and warm air holds more than cool air. The dew point is the temperature at which the air you’re looking at becomes fully saturated. Cool it any further and water has to condense out.

    It’s not about how humid the air feels; it’s about the gap between the air temperature and the dew point.

    Here’s what happens inside an outdoor enclosure on a clear night. The metal skin of the box radiates heat to the sky and drops below the air temperature, sometimes well below it. The internal surfaces follow.

    If the internal surfaces cool to the dew point of the air inside, you get condensation, exactly the way a cold soda can sweats on a porch. The enclosure doesn’t have to leak a drop. It doesn’t have to be raining.

    In fact, the worst nights for condensation are the clear, calm ones with big temperature swings, because the enclosure radiates heat fastest when the sky is clear.

    This is why outdoor electrical enclosure condensation shows up in predictable patterns: early morning, after a hot day, in spring and fall when daytime and nighttime temperatures swing hard, and in coastal areas where humid air is the baseline.

    It’s also why an enclosure sitting in full shade can be worse than one in the sun. The sun-baked box stays warm enough to keep its surfaces above the dew point; the shaded one doesn’t.

    Why “higher IP rating” isn’t the fix

    A compact unit that mounts inside the enclosure and removes water vapor from the air

    When the spec calls for IP65 and the customer still finds water, the reflex is to jump to IP67 or IP68. That mostly buys you better protection against liquid water and dust, which was never the problem.

    A more airtight box breathes less, which sounds good, but it also traps whatever moisture is already inside and slows the drying-out process. Some equipment actually suffers more in a “fully sealed” box because the moisture has nowhere to escape.

    That’s not an argument against good enclosures. It’s an argument for recognizing that internal condensation is an environmental condition to be managed, not a manufacturing defect to be spec’d away.

    What actually fixes outdoor enclosure condensation

    Pressure-equalization and venting. Many outdoor telecom and utility boxes use small breather vents with a semi-permeable membrane.

    They let air pressure equalize without letting liquid water through, which cuts down on the inhale-exhale pumping that pulls humid air in. They help, and they’re cheap, but a breather alone rarely solves a serious condensation problem in a climate with real humidity.

    Controlled heat. The workhorse fix is a low-wattage enclosure heater, ideally switched by a thermostat or a humidity controller rather than left on full time. You’re not trying to warm the equipment to room temperature.

    You’re trying to keep the internal surfaces a few degrees above the dew point so water physically can’t form. A heater that only runs when the temperature drops or the humidity climbs uses very little power over the course of a year, and it protects the whole cabinet, not just one component.

    Active dehumidification. For cabinets that house sensitive electronics, or sites where you can’t rely on power being on, a thermoelectric enclosure dehumidifier is the next step up.

    These compact units use a semiconductor cooling element to pull moisture out of the air and collect or evaporate it, holding the internal humidity at a set level instead of just warming the air. They’re the difference between “the dew point is higher now” and “the water is actually gone.”

    Smart siting. Before you install anything, look at where the box lives. A rain hood or sunshade that keeps the enclosure from radiating heat at night, or a mounting position that lets air move around the back of the cabinet, can shrink the temperature swing enough that condensation never starts.

    Getting the box off a cold north wall or out of a damp hollow does more than a lot of hardware.

    Humidity-controlled operation keeps a sealed outdoor box dry without venting humid outside air in

    Sizing it so you’re not guessing

    There’s no single wattage that fits every cabinet, because heat loss depends on the surface area, the metal, and the site.

    As a ballpark, the industry rule of thumb has long been roughly 100 watts per cubic meter of enclosure for a mild climate, but a thin steel box on a windy mountaintop in winter needs more than the same box tucked into a sheltered spot.

    When in doubt, size for the worst night of the year, not the average one, and control the heater with a thermostat so it isn’t wasting energy the rest of the time.

    One more practical note for U.S. installations: make sure whatever you spec can actually run on the voltage at the site, 120 V or 240 V, and if the project requires listed equipment, confirm the manufacturer can provide the right documentation.

    A lot of capable climate-control gear is built overseas, and CE or RoHS marks alone don’t satisfy a U.S. inspection. It’s a ten-minute conversation that saves a lot of pain at commissioning.

    The bottom line

    If you’re finding water in outdoor enclosures, stop asking for a “better” box and start asking what the air inside the box is doing at 4 a.m. Seal the obvious leaks, give the cabinet a way to equalize pressure, and add controlled heat or active dehumidification sized to the enclosure and the site.

    Outdoor electrical enclosure condensation is a physics problem, and like most physics problems, it’s very predictable once you know the rules. Handle it that way and you’ll stop losing boards, breakers, and service calls to a little morning dew.